
Rosette Nebula (NGC 2237) Astrophotography Guide
Best Season
Winter
Best Filters
Dual-Band, Narrowband
Difficulty
Beginner–Intermediate
Focal Length
135mm to roughly 500mm
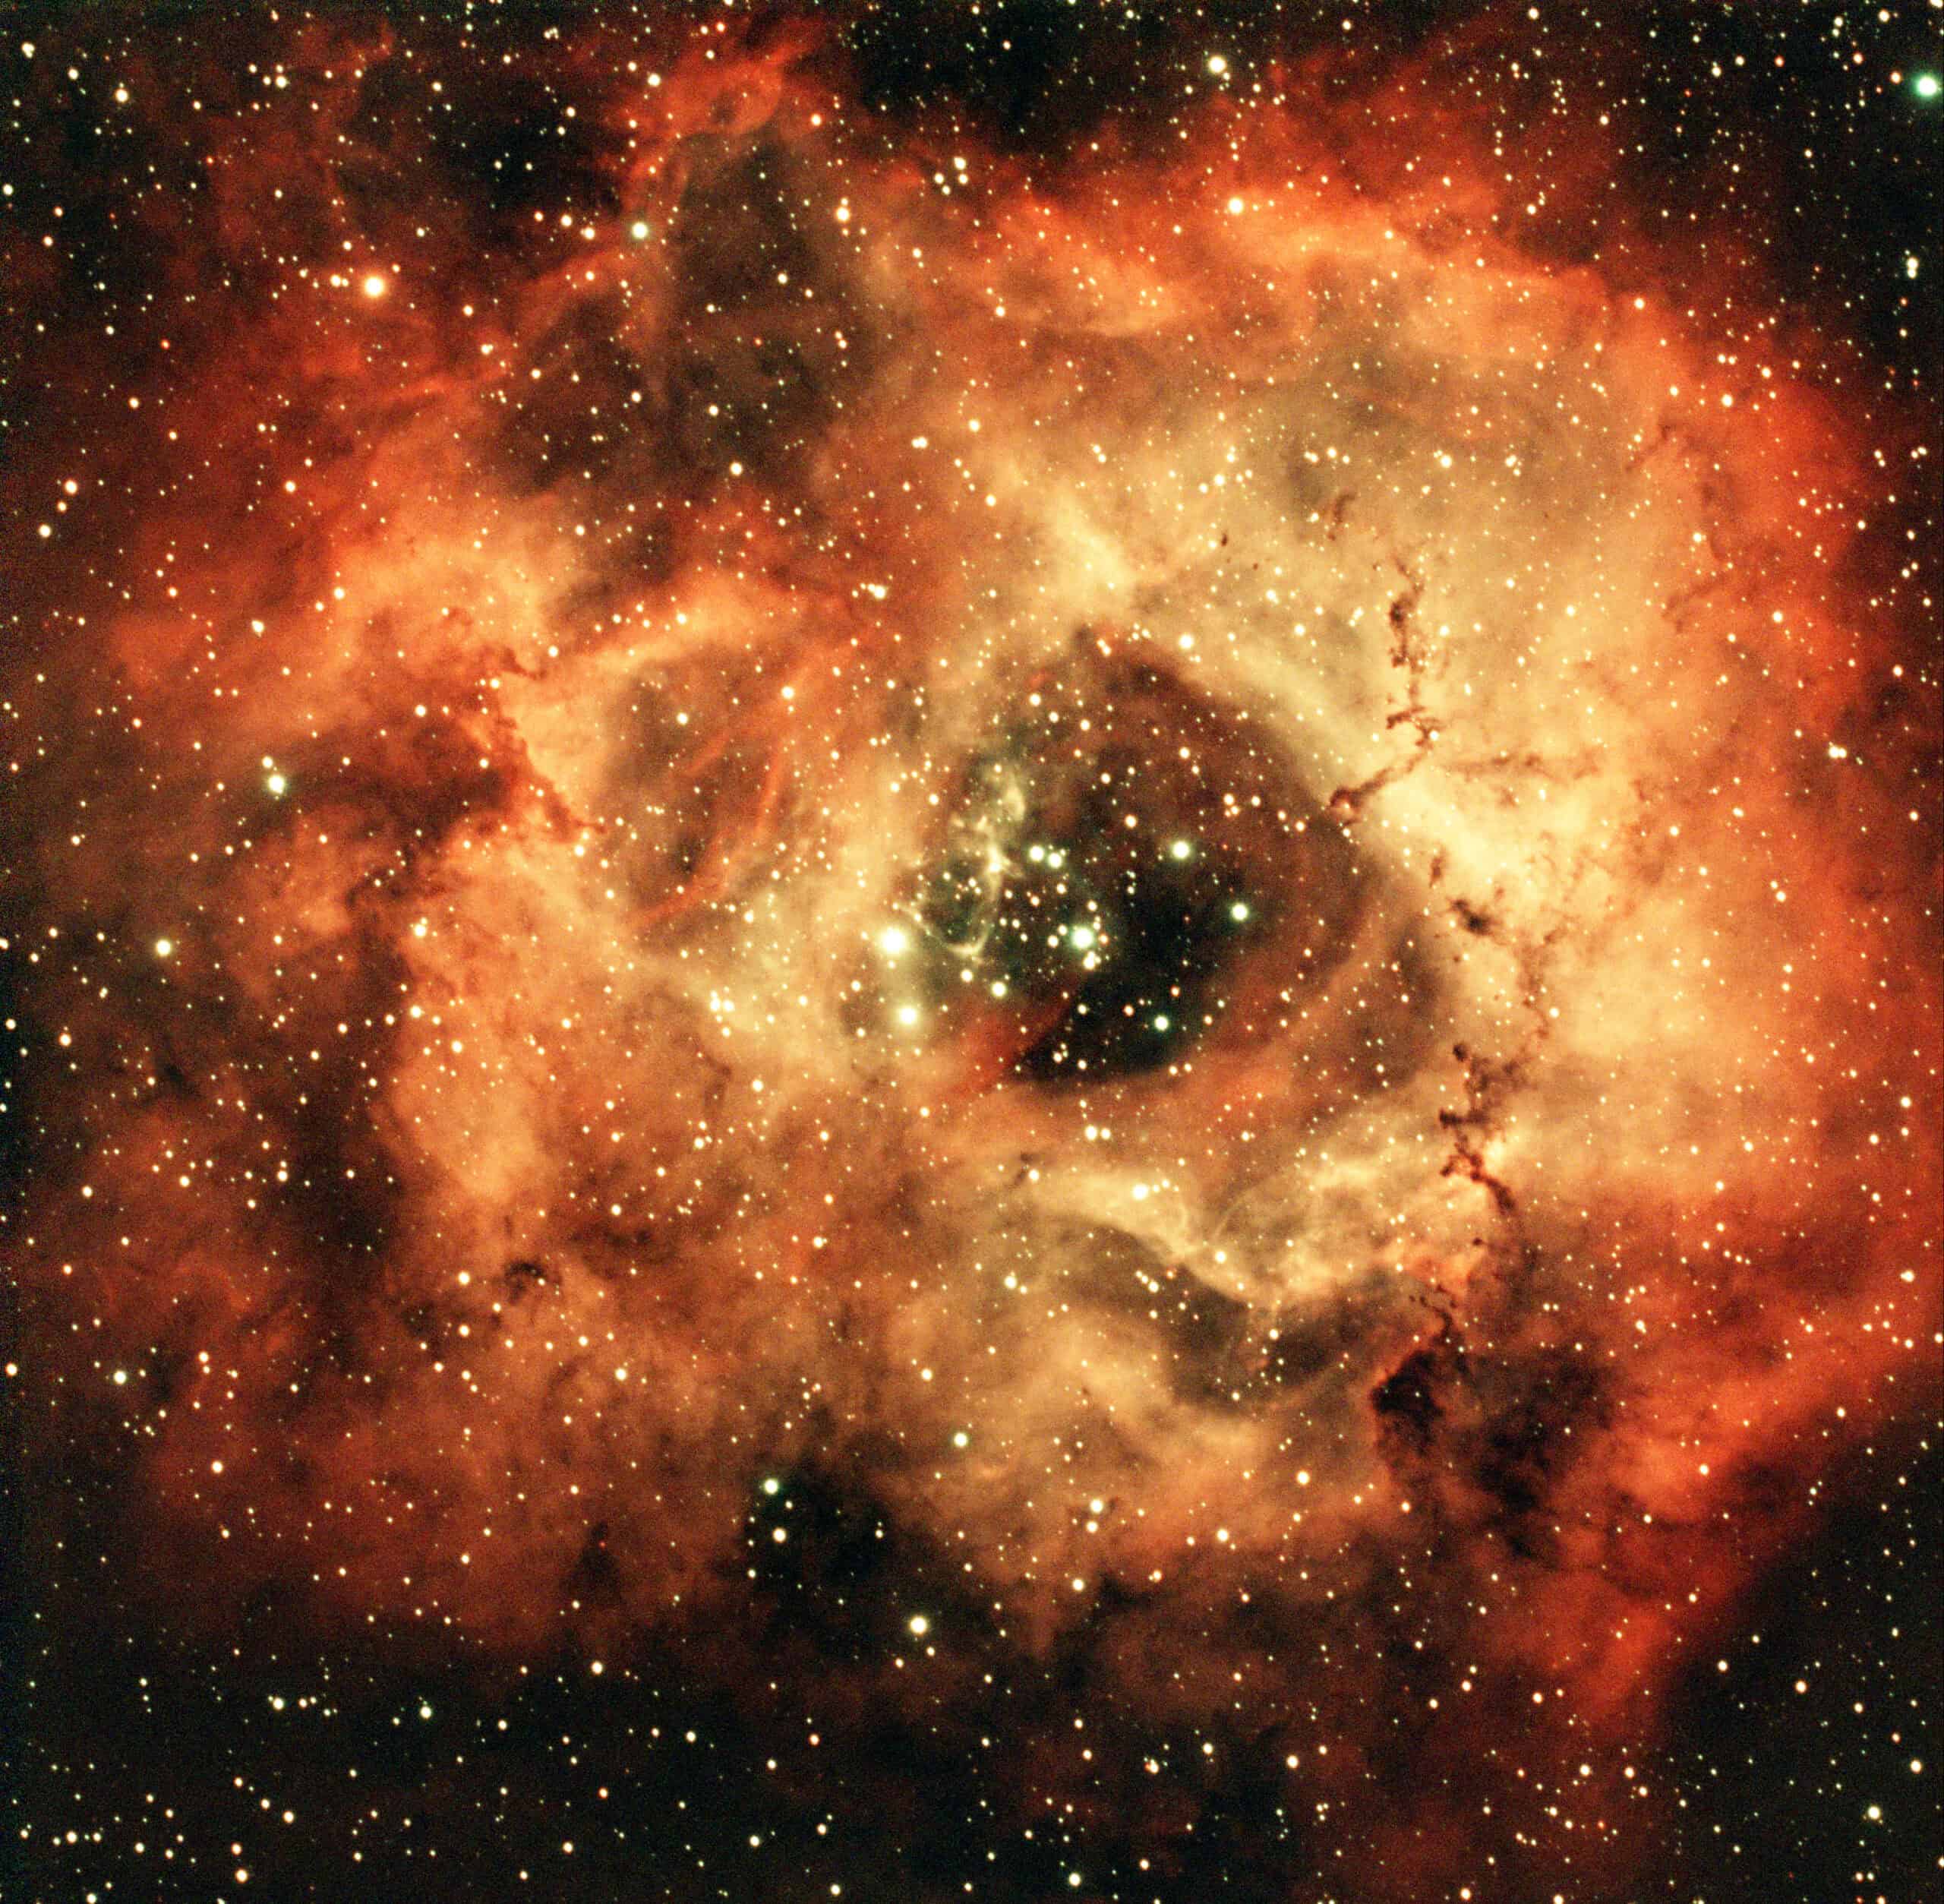
The Rosette Nebula shows up on every winter target list, and for good reason. It’s big, it’s bright in hydrogen-alpha, and its shape is unmistakable. But most of the Rosette guides you’ll find are written from dark skies with serious gear behind them.
I’ve photographed the Rosette twice from a Bortle 9 sky in Florida. The first time was with a Sony ZV-E10 and a Rokinon 135mm lens. The second was about four weeks later with a ZWO ASI533MC Pro on a 70mm SVBONY SV503 refractor. Both images worked. That’s the whole point of this Rosette Nebula astrophotography guide: whatever you’re shooting with right now, this target is within reach.
The Rosette Nebula (NGC 2237) is a large emission nebula in Monoceros, best photographed from December through March. It works at any focal length from a 135mm camera lens up to a small refractor. If you’re imaging from a light-polluted sky, a dual-band filter will make a bigger difference than anything else in your setup.
| Rosette Nebula at a Glance | |
|---|---|
| Catalog | NGC 2237 / Caldwell 49 |
| Type | Emission nebula with open cluster (NGC 2244) |
| Constellation | Monoceros |
| Apparent size | About 1.3° (more than twice the width of the full moon) |
| Distance | About 5,000 light-years |
| Best months | December through March |
| Peak altitude from Florida | About 65° |
| Filter for light-polluted skies | Dual-band (Ha + OIII) |
| Focal length range | 135mm to roughly 500mm |
Let’s dive into what makes the Rosette such a good target, and what I learned shooting it with two very different setups.
What Is the Rosette Nebula?
The Rosette is a huge cloud of glowing hydrogen and oxygen about 5,000 light-years away. At its center sits NGC 2244, a young open cluster. The hot stars in that cluster carved out the hollow core that gives the nebula its flower shape, and their radiation is what makes the surrounding gas glow.
At longer focal lengths, you’ll also find small dark knots scattered through the petals. These are Bok globules, dense pockets of dust and gas silhouetted against the glow.
For anyone imaging from a city, one detail matters more than the rest: the Rosette is an emission nebula. Most of its light comes from a few narrow wavelengths. That’s what makes it such a good target under light pollution, and it’s why filters come up again below.
When and Where to Find the Rosette Nebula
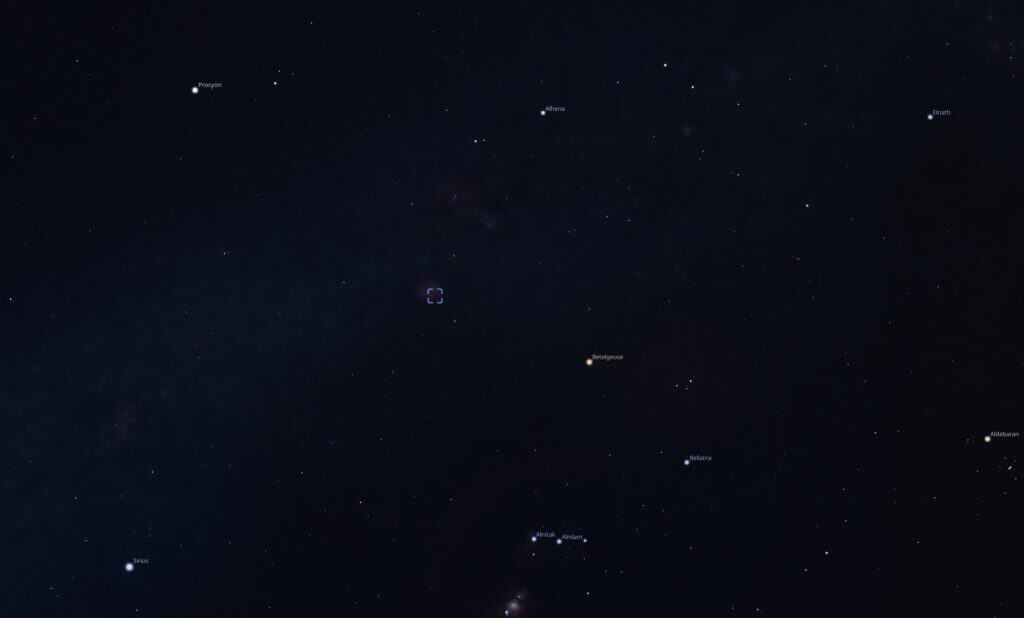
The Rosette sits in Monoceros, a short hop east of Betelgeuse, the bright orange star in Orion’s shoulder. If you can find Orion, you can find the Rosette.
It’s a winter target. From Florida, it climbs to about 65° and reaches its highest point around midnight in early January. December through March is your window. By spring, it’s already sinking toward the west in the early evening.
My own sessions landed right in the middle of that window: December 31 for the 135mm version and January 26 for the refractor version. If you’re planning your first attempt, aim for those same weeks.
Under a Bortle 9 sky, altitude matters. The higher a target sits, the less atmosphere and skyglow you’re shooting through. Plan your imaging time around the hours when the Rosette is near its peak, and you’ll give yourself the cleanest data your sky can offer.
Best Focal Length for the Rosette Nebula: 135mm vs. a Small Refractor
This is the question I get to answer from experience, because I’ve shot the Rosette at both ends of the beginner range.
What a camera and telephoto lens shows
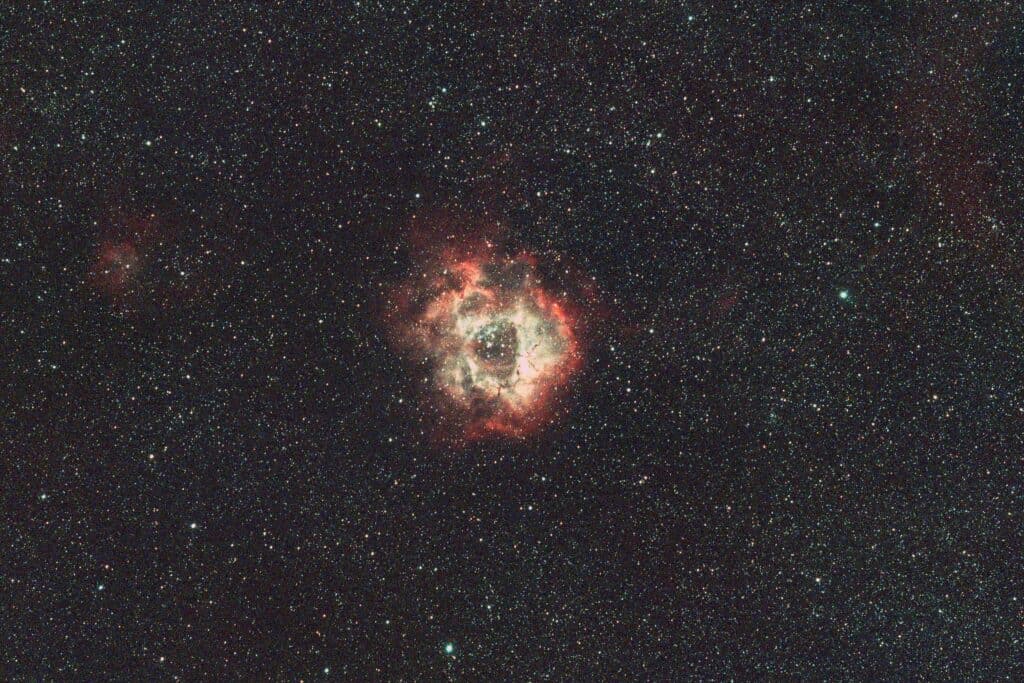
If all you own right now is a camera and a telephoto lens, the 135mm version is 100% worth doing. Even at 135mm, the Rosette is a distinct, recognizable shape. You won’t mistake it for anything else.
What you get at this focal length is context. The Rosette sits in a large, dense star field, so the frame around it fills with stars. Instead of a close-up portrait, you get the nebula in its neighborhood. It’s a different image, not a lesser one.
What a small refractor shows
On the SV503 with the ASI533MC, the Rosette fills most of the frame. The petals, the hollow core and the cluster at the center become the whole picture, and the finer structure inside the nebula starts to show.
A longer focal length can’t make the Rosette any brighter. It changes how much sky surrounds it. That’s a framing choice, not a quality ladder you have to climb before the target is worth shooting.
Filters for the Rosette Nebula Under Bortle 9 Skies
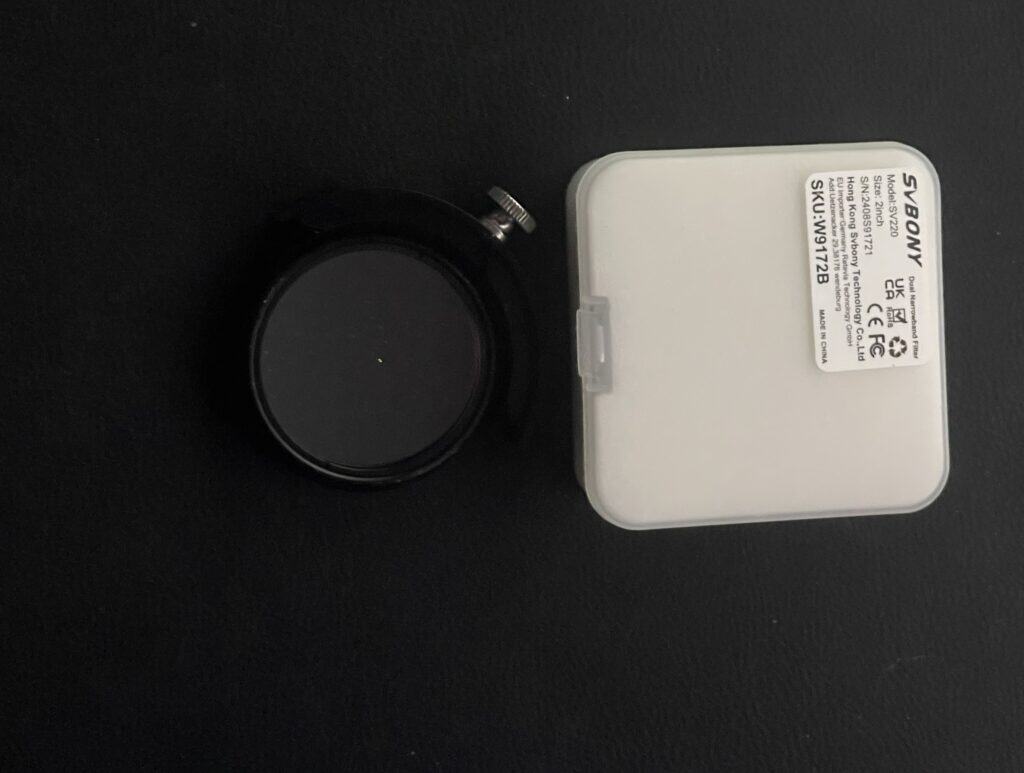
Both of my Rosette images were shot through a dual-band filter, and I’d point you the same way if you’re imaging from a light-polluted sky. On the refractor, that was the SVBONY SV220.
Here’s why it matters. City skyglow is broadband light that washes over the whole spectrum. The Rosette, on the other hand, puts most of its light out in two narrow bands: hydrogen-alpha (deep red) and oxygen III (teal). A dual-band filter lets those two through and blocks most of everything else. The nebula stays, and a big chunk of the skyglow goes.
That holds no matter your focal length. A dual-band filter made a difference at 135mm just as much as it did on the refractor. Gear can’t fix a Bortle 9 sky, but the right filter changes what that sky lets through.
One thing to expect: dual-band data from a color camera produces a bi-color look, with red hydrogen and teal oxygen. If you’ve seen Rosette images in gold and blue, those are usually shot with separate narrowband filters on a mono camera. Neither approach is more correct. They’re different palettes.
Integration Time and Framing
Here’s what each version took:
| Setup | Date | Exposures | Total integration |
|---|---|---|---|
| ZV-E10 + Rokinon 135mm | December 31, 2025 | 30 × 300s at ISO 800 | 2 hours 30 minutes |
| ASI533MC Pro + SV503 70mm | January 26, 2026 | 70 × 300s | 5 hours 50 minutes |
If you’re wondering how much time you need, I don’t have a magic number for you. Nothing in my early data told me to keep stacking or to stop. I collected what the night allowed, and both totals produced a finished image.
More integration does help. It lowers noise and pulls out fainter detail in the outer petals. But 2.5 hours at 135mm was enough to get a recognizable, satisfying Rosette from a Bortle 9 sky. Don’t let a big number on someone else’s image talk you out of trying with less.
Framing is the part I’d plan differently. If I’m being honest, I didn’t put much thought into it either time. At 135mm, that’s fine, because there’s plenty of room and you can crop later. On a small refractor with the ASI533MC, though, the Rosette nearly fills the roughly 1.5° field. There’s very little margin around the petals.
Next time, I’d check the framing in a planning app with my sensor’s field of view before the session, so the whole nebula sits comfortably in frame with some breathing room.
Processing the Rosette: Keep the Stars or Remove Them?
With a target buried in a dense star field, you’ll eventually ask whether all those stars are helping or hurting. My answer: it’s your call.
I left every star I captured in both of my images. The Rosette’s shape is distinct enough that the star field doesn’t take away from it. If anything, it frames the nebula. That said, there are two reasonable ways to shift the balance if you want the petals to stand out more:
- Remove the stars. Star removal tools separate the stars from the nebula so you can process each on its own, or leave the stars out entirely.
- Crop in. Trimming the space around the nebula cuts down how many stars compete for attention. This works especially well on wide 135mm data.
There isn’t a right or wrong answer here. A starless Rosette and a star-filled one are both valid images. Process toward the version you want to look at.
Whichever way you go, deal with the light pollution gradient early. Even through a dual-band filter, a Bortle 9 sky leaves an uneven glow across the frame. Removing that gradient before you stretch keeps it from getting amplified along with the nebula.
Final Thoughts
The Rosette Nebula rewards you at every gear level. I’ve seen that firsthand, shooting it with a beginner camera and lens and then with a dedicated astro camera on a small refractor, all from a Bortle 9 sky.
If you only have a camera and a telephoto lens right now, don’t wait on an upgrade. The 135mm version is 100% worth doing. Add a dual-band filter, catch the Rosette near its peak between December and March, and collect what your night gives you.
Your sky and your gear are part of the puzzle. They aren’t the reason to skip one of the best winter targets out there.