What Makes an Astrophotography Session Actually Succeed
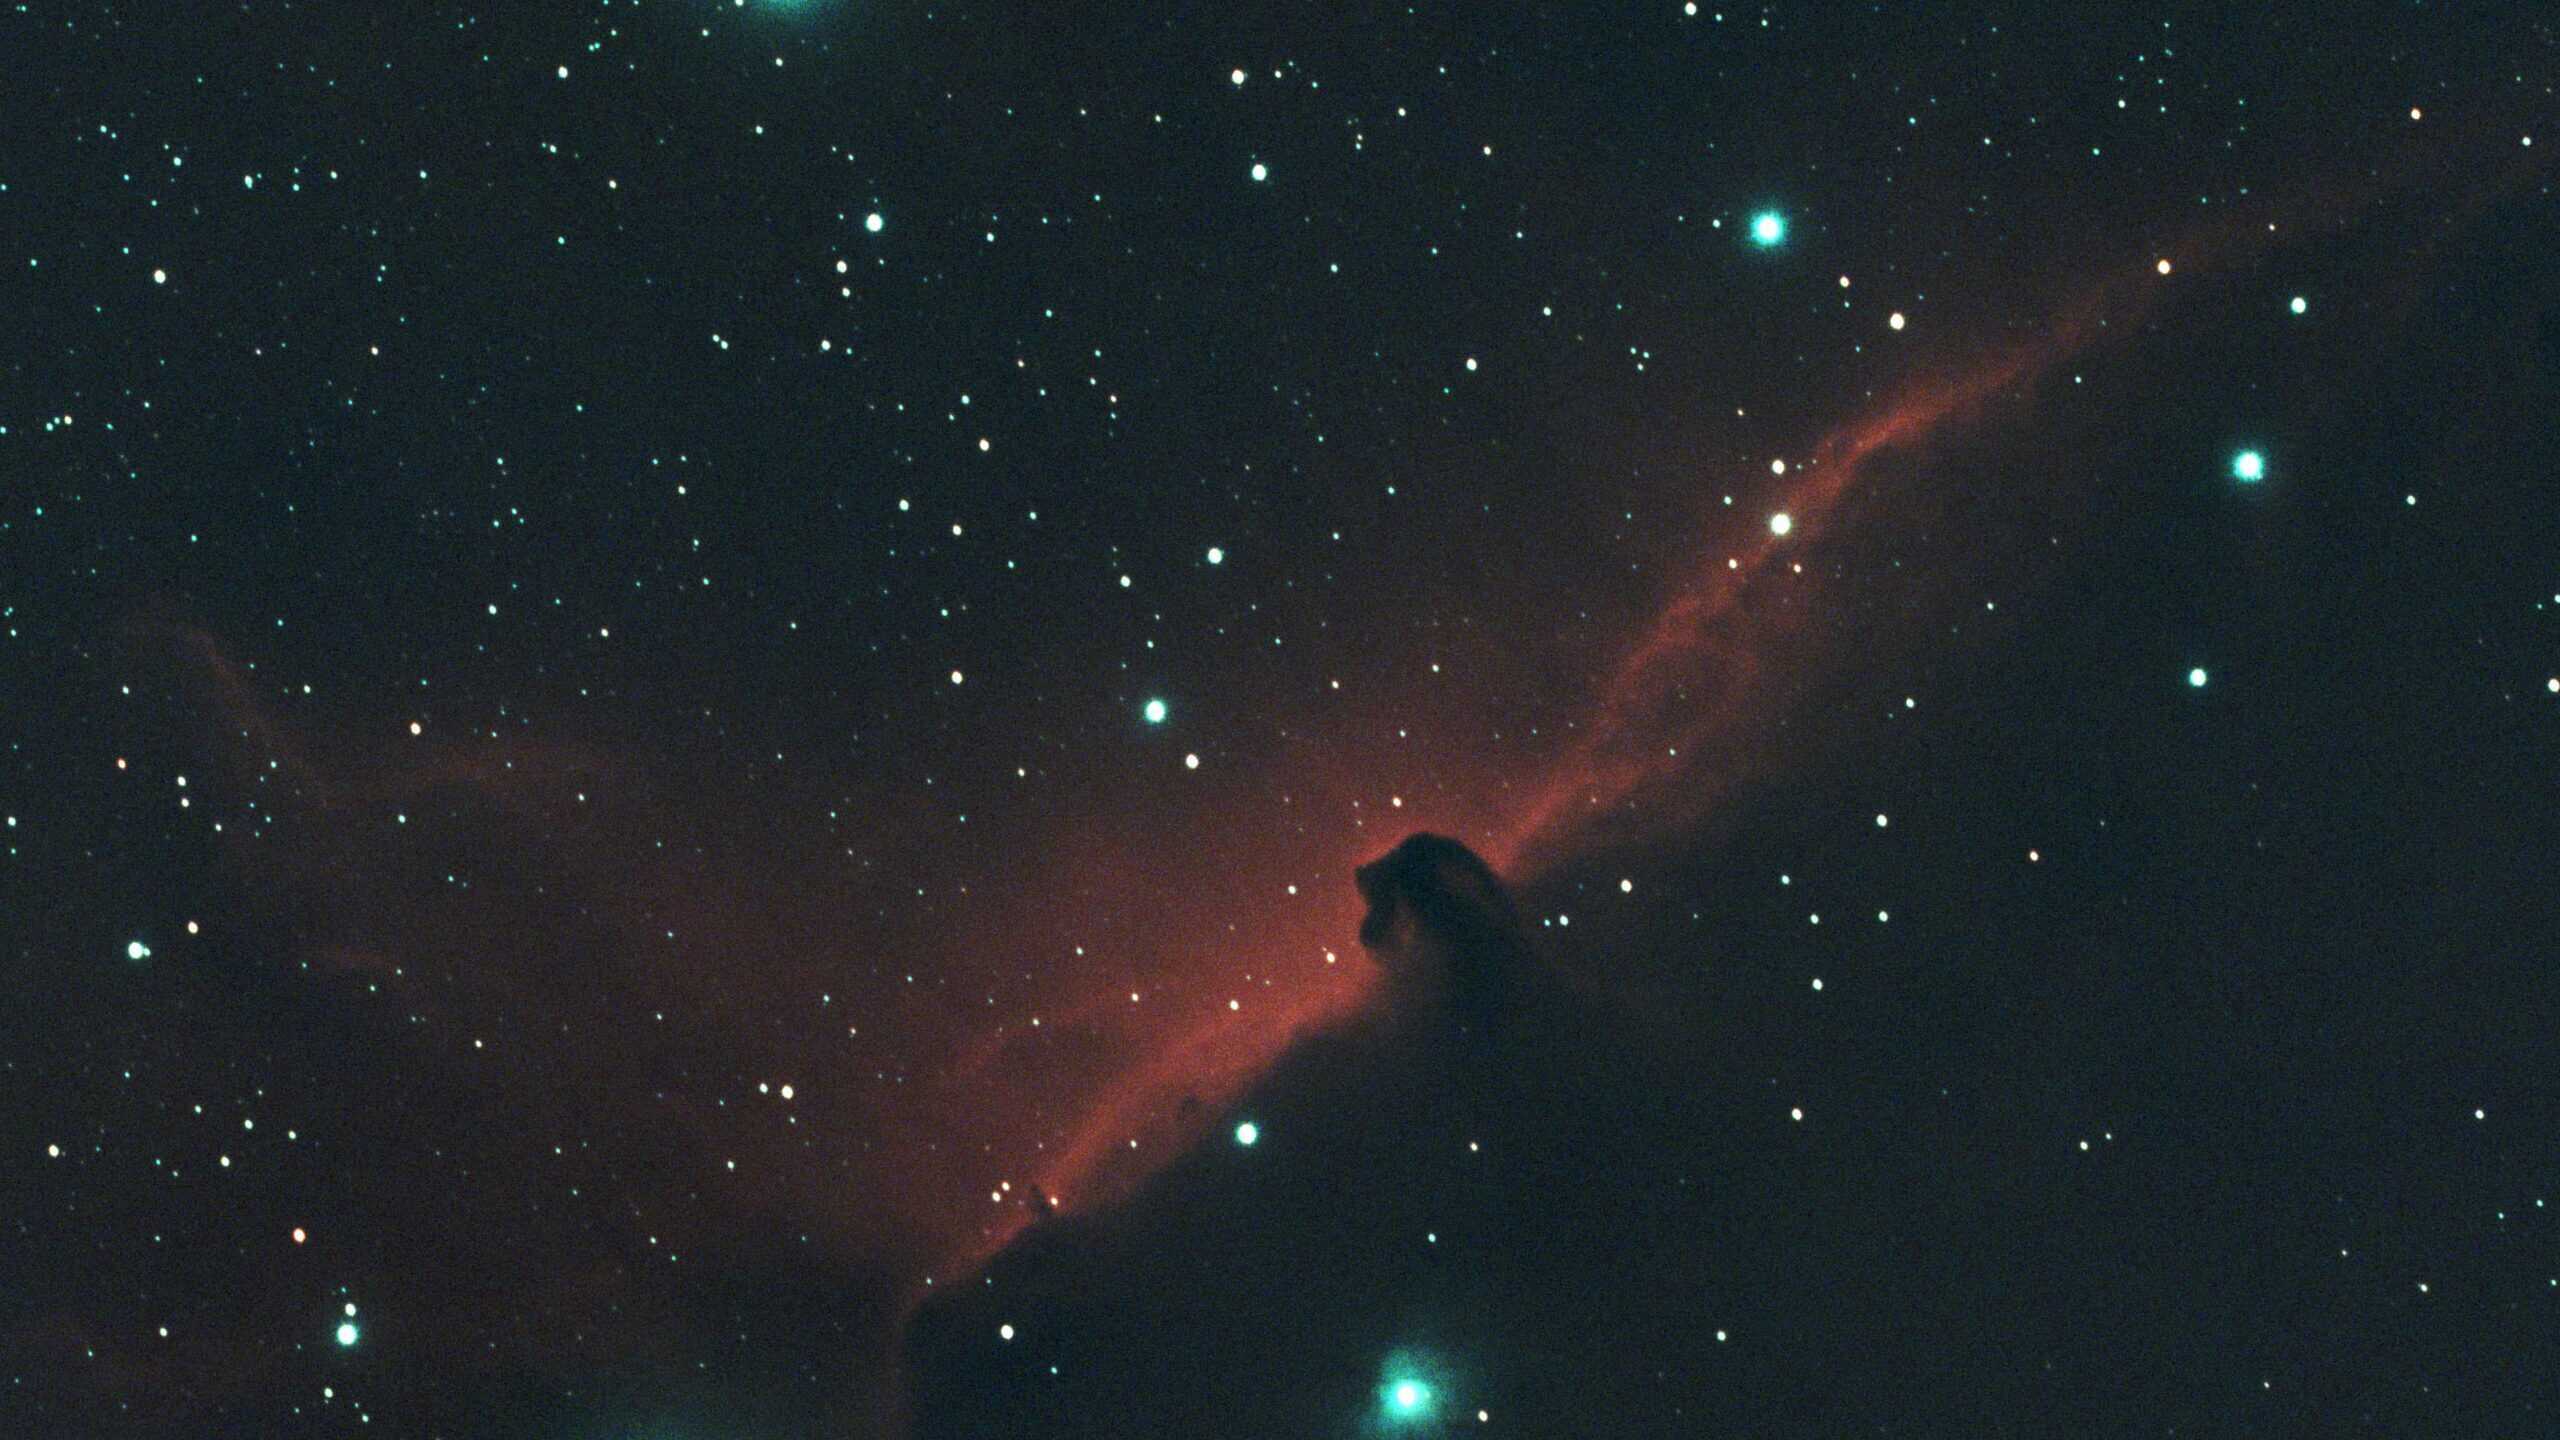
After many sessions imaging a Florida night sky, I’ve learned there are a handful of things that determine whether a session succeeds or fails — and your equipment isn’t one of them.
The key to a successful imaging session is to remember that:
You should have a plan before you power on — the session is won or lost before you ever step outside.
Setup time is imaging time — how you set up directly affects what you capture.
Work with your sky, not against it — every situation and location will have its own constraints and obstacles. Embrace them and plan around them, starting out with the mindset of this is what I can image, instead of this is what I can’t image will make your session so much smoother.
Plan Before You Power On
Your imaging session starts well before you step outside to turn your rig on.
Having a plan — from the target you want to image to the steps you need to perform before imaging starts — goes a long way toward a successful night.
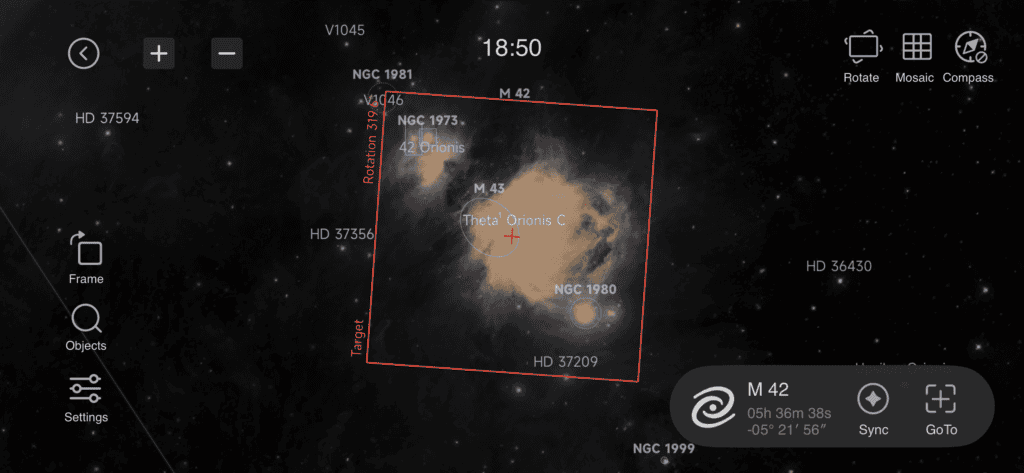
That means knowing your target before you go out. Where will it be in the sky? For how long? What type of object is it, and which filter fits your conditions? If you’re working through these questions after dark with the clock running, you’re already behind. A two-minute decision doesn’t sound like much until you’ve made five of them inside a narrow window.
This becomes even more important when you’re planning across multiple nights on the same target. If two targets are competing for your attention and one is going out of season, that one gets prioritized. That kind of thinking only happens if you’ve planned ahead — it doesn’t happen in the moment.
And sometimes the best plan isn’t choosing between two targets — it’s imaging both in the same night.
I still occasionally skip this step and pay for it. The sessions where I’ve gone out without a clear plan are almost always the ones where something feels off by the end of it. The sessions where I’ve done the thinking ahead of time run smoother start to finish.
Setup Time Is Imaging Time
This is the one that catches most beginners off guard: setup isn’t the thing you do before imaging. Setup is imaging. How well you do it determines the quality of everything that follows.
Polar alignment, tracking calibration, and mount balance aren’t tedious formalities to rush through. They’re the foundation. Get them right and your session runs. Skip them or shortchange them and you’ll spend the rest of the night chasing problems you created for yourself at the start.
The practical flow for a session looks something like this: polar align, run guiding calibration, slew to your target, take a test frame to confirm framing and focus, then start your imaging run. In the morning, collect your flats and dark flats to round out your calibration frames. That sequence matters — and each step takes time.
Speaking of time: if you’re shooting with an uncooled camera, factor in dark frames. Unlike a cooled dedicated astrophotography camera, uncooled sensors can require darks taken every session, and depending on your exposure length, that adds up faster than you’d expect. It’s not a deal-breaker — it’s just part of the process you need to plan around.
One thing that’s made a real difference for me: keeping the rig together between sessions instead of breaking it down every time. Every connection you undo is a connection you have to redo, and that time comes out of your imaging window. If your setup allows it, leave it assembled.
Work With Your Sky, Not Against It
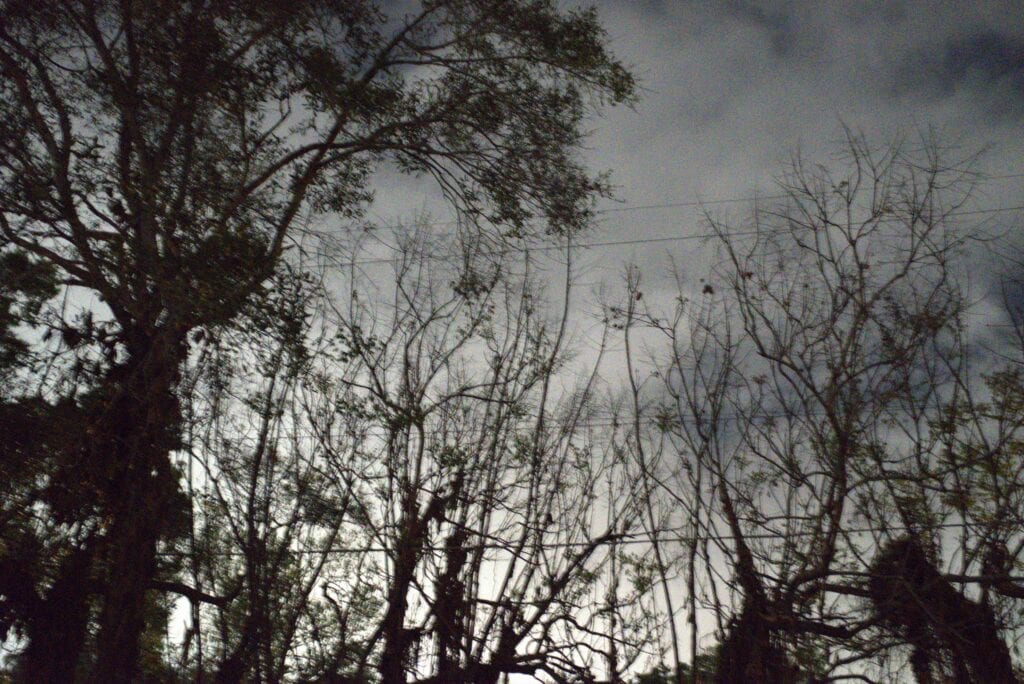
If you’re imaging under a light-polluted sky — a Bortle 9 like mine — you’ve probably already heard that filters help. They do. But filters alone aren’t the whole answer.
Target selection matters just as much. Choosing an object that actually fits your conditions gets you a great image. Trying to force a target that doesn’t fit your sky, your horizon, or your window leads to frustration — and often a result that doesn’t reflect the time you put in.
The mindset shift that changed things for me was moving from “here’s what I can’t image” to “here’s what I can image.” That reframe sounds simple, but it changes how you approach a session entirely. Instead of looking at your constraints as a ceiling, you start treating them as parameters. You plan around them, you work within them, and over time you figure out what actually works from your specific setup and location.
And regardless of your gear or where you’re imaging from, the single biggest factor in producing a great image is total integration time. Hours on target. That’s it. The best thing you can do for any image — regardless of sky conditions, regardless of equipment — is give it enough light. That means planning sessions that maximize time on the target, prioritizing high-value nights, and coming back to the same object across multiple sessions when you can.
Final Thoughts
A successful astrophotography session isn’t determined by your gear, your sky, or your location. It’s determined by your preparation.
Plan before you power on. Treat setup as part of the session, not a warmup to it. And work within your constraints instead of resenting them — because every imager has them, and the ones who get great results are the ones who figured out how to plan around theirs.
If you’re just starting to build your own workflow, start simple. Nail the foundational steps first. The rest builds from there.
And when you start wondering whether it’s time for new gear, start with what you want to image, not what’s on sale — the right upgrade follows the right question.
When you’re ready to put that into practice, this full session workflow breaks down exactly how to do it start to finish.
Tagged
In This Post
Current Setup
Equipment links are affiliate links – they help support this site at no cost to you.