
How I Plan Astrophotography Targets Around My Backyard’s Tree Cover
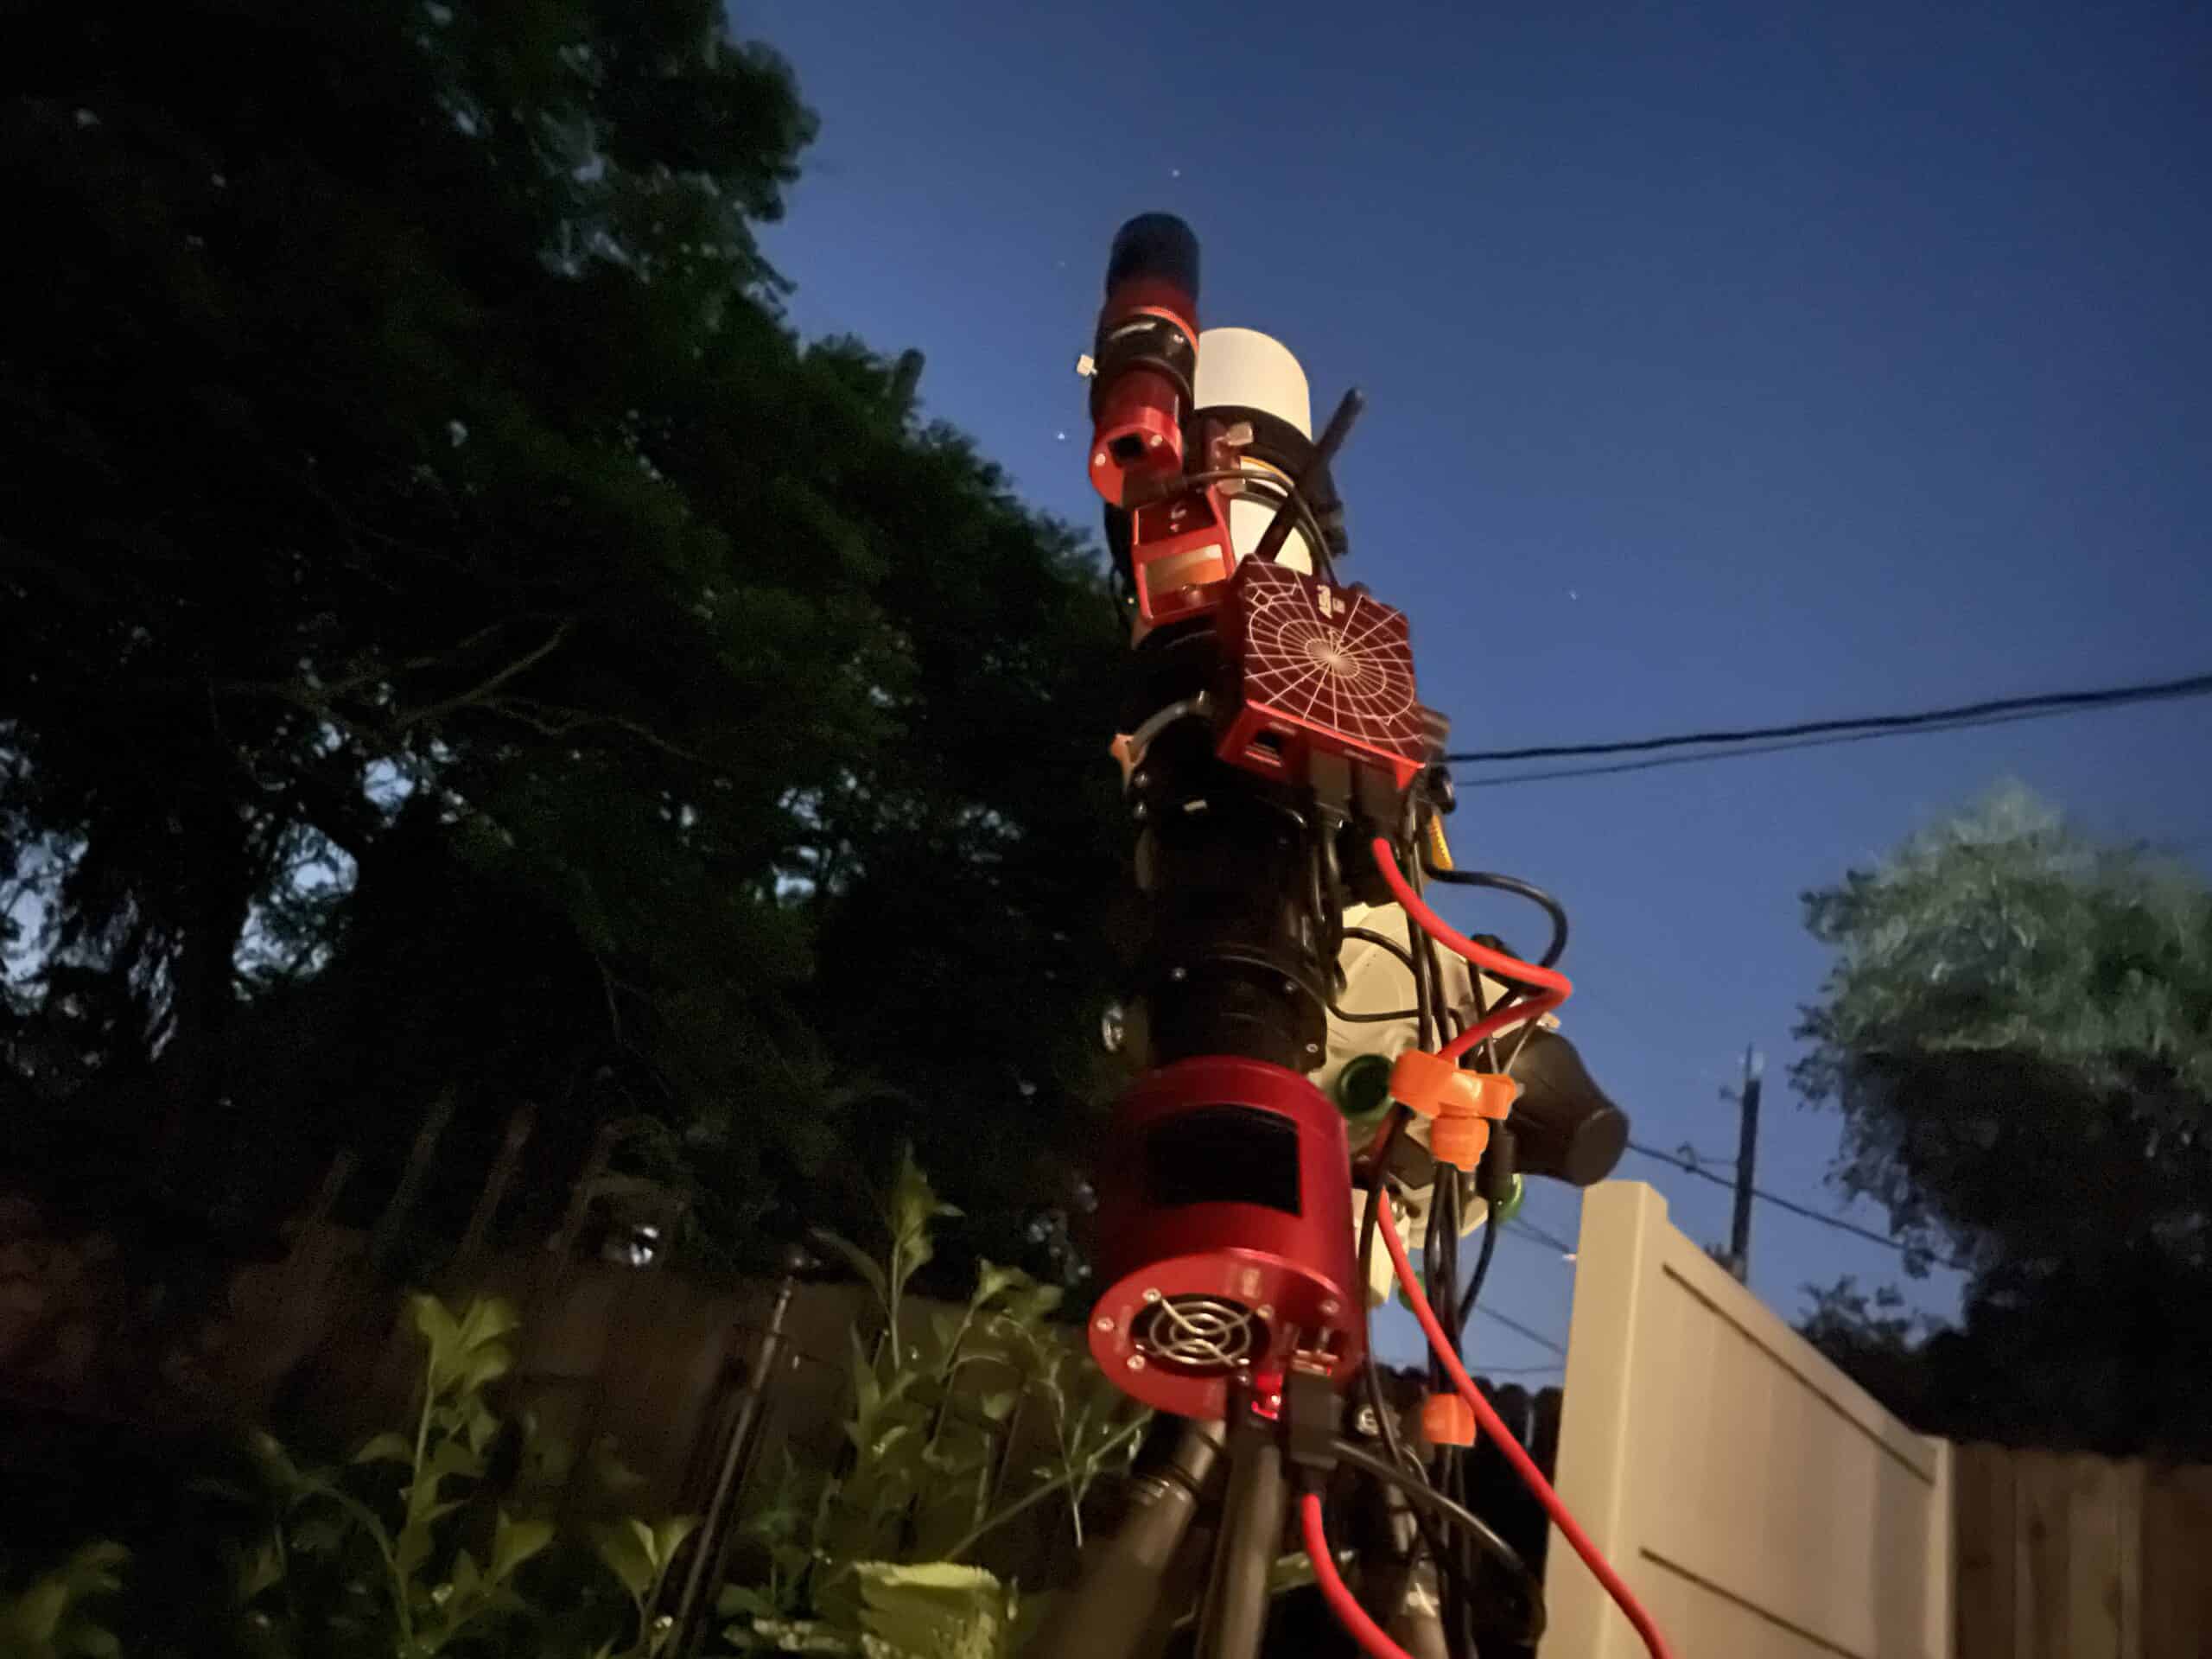
When I first started planning imaging nights, I did what most beginners do. I pulled up a list of the best targets for the month, picked one that looked amazing, and headed out to the backyard.
Then the trees got in the way.
Most of my north and west sky is blocked by trees, and the house covers part of my south. Picking from a standard target list meant one of two things: the target never cleared the trees at all, or I squeezed a capture into a window so narrow it barely felt worth setting up. If your yard has a tree line, there’s a good chance you’re making the same mistake right now without realizing it.
To image with trees blocking your sky, stop planning from generic target lists. Figure out which directions are actually open, choose targets that travel through that open sky, favor the ones with the longest window, and position your rig to put distance between it and whatever is in the way.
Let’s dive into how I plan my targets from a tree-lined, Bortle 9 backyard in Florida.
Why Every Clear Night Counts When Your Sky Is Limited
Living in Florida, clear imaging nights aren’t always easy to come by. Between humidity, afternoon thunderstorms, passing clouds, and unpredictable weather, finding a night with several uninterrupted hours of clear sky can be a challenge. Even when the forecast looks promising, conditions can change quickly.
With so few nights, spending one fighting the trees hurts. A narrow window isn’t automatically bad. But if five good targets are available on a given night, and one stays in your open sky far longer than the rest, that’s the one that makes the most of a clear night you might not get again next week.
Weather doesn’t guarantee you anything. Your planning should take full advantage of the nights it does give you.
Mapping Your Open Sky (No Protractor Required)
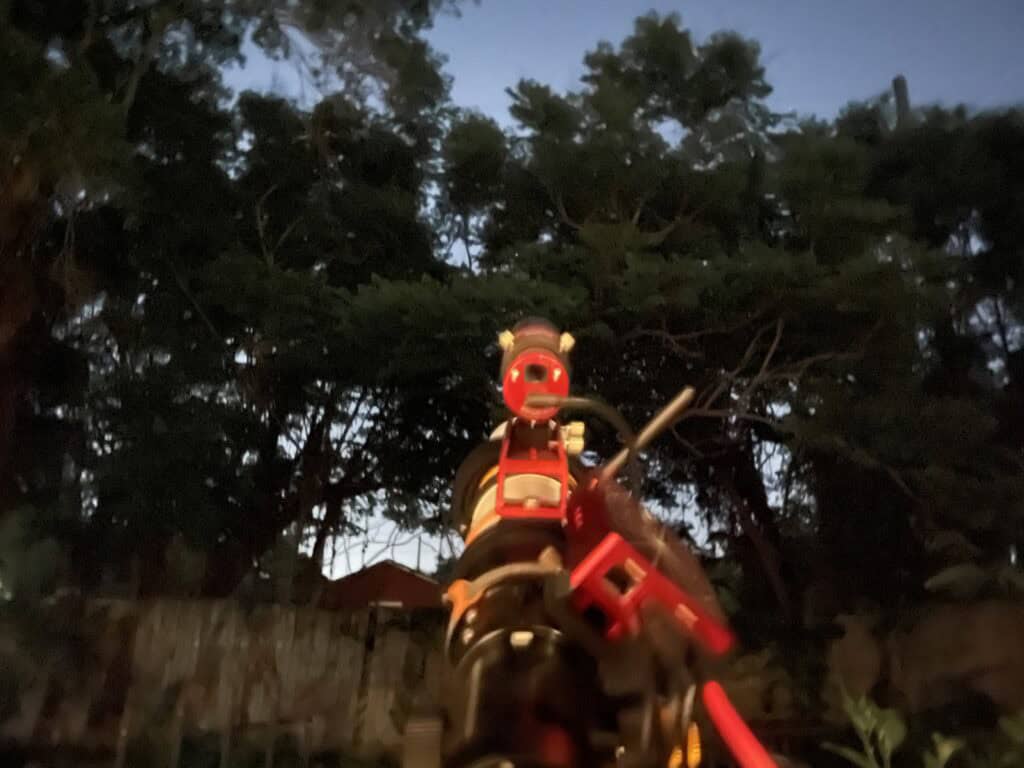
I didn’t map my sky with any special tool. It was mostly trial and error, plus basic observation.
Here’s what I learned: my north and west aren’t an angle problem. There’s simply no open sky there. So instead of thinking “at this altitude I can see this,” my planning is much simpler. North and west are blocked, so I look for targets in the east and south.
Blocked north also means I can’t see Polaris, which rules out using a traditional polar scope for alignment. Instead, I use plate solving with my ASIAIR Plus. If you’re dealing with the same thing, I covered my workaround in Polar Alignment Without Polaris: How Plate Solving Gets It Done.
Start by standing where you’d set up and noting which directions have real sky and which are just treetops or rooftops. That one observation filters out a huge chunk of any target list.
Move the Rig, Not Just the Target
Your open sky changes depending on where you set up, so the target decides where the rig goes.
For a southern target, the house is the obstacle. I set up out in the yard to put distance between the rig and the roofline. For a northeast target, I set up on the patio close to the house, which gives me the widest window before the object passes. One thing I’ve noticed: if a northeast object doesn’t pass nearly straight overhead, its window closes much faster.
The front yard puts more distance between me and the trees, which makes those angles workable. The tradeoff is leaving equipment out front all night unless I stay with it, and so far I haven’t wanted to. Your yard probably has its own version of that tradeoff.
Finding Your Imaging Window
To check how long a target will stay in my open sky, I start with the object’s path in the ASIAir Plus. From there, it’s testing. Can I start capturing as it rises at a given angle? Over a few sessions, you build a feel for when an object is high enough.
On the back end, I let the capture run and check the subs the next day to see when the trees started showing up.
The moment that matters most is the start. Until an object climbs into an imageable window, you can’t begin, so knowing when it clears your obstructions is the key piece of the plan.
When the Trees Creep Into Your Frames
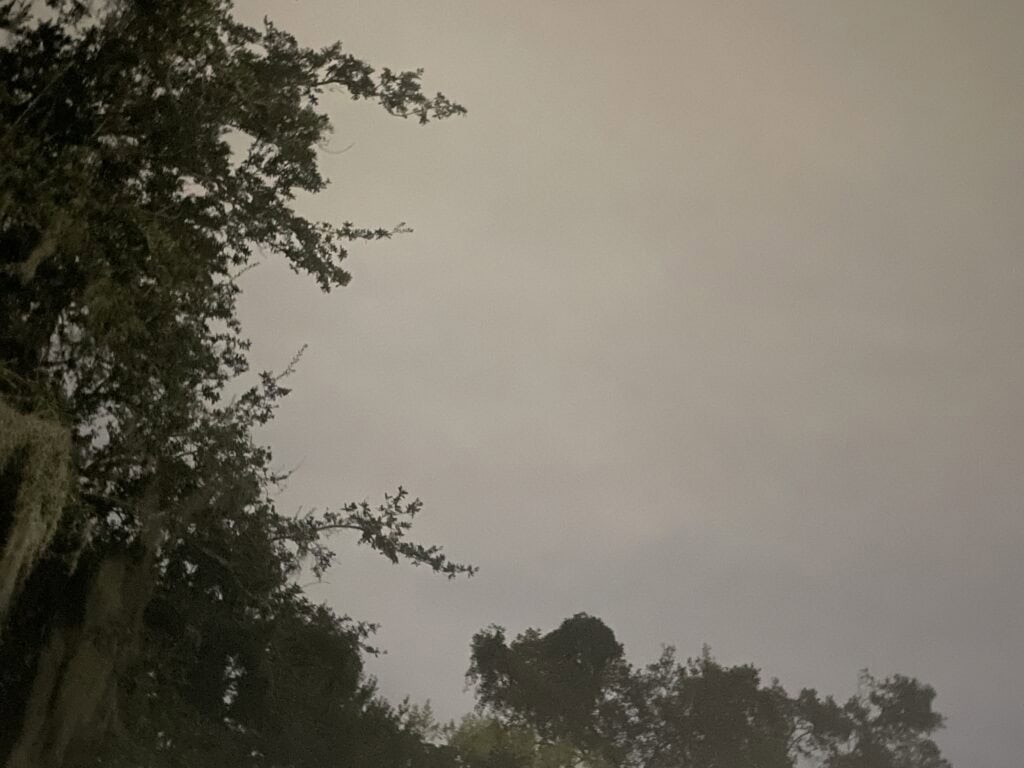
The first sign is subtle: darker areas start appearing along the edges of the frame. As the trees take up more of the view, you’ll see an obvious tree outline.
My rule is simple. Once I see a change in the image, I start cutting. I’d rather toss a borderline frame than keep it and let it drag down the final result. A few lost subs cost far less than a compromised stack.
How I Choose Between Targets on a Clear Night
When several east or south targets are available, I weigh a few factors. The order shifts from night to night, but it usually looks like this.
What suits the gear already set up. Swapping between scopes and lenses takes time, so unless I plan to keep a different setup on for a while, I stick with what’s mounted. If most of a month’s targets suit the same focal length, I set that up and leave it.
When each target rises. If one rises well before the others, starting there gives the biggest window. Staggered rise times can even fit two targets into one night, which I walk through in How I Image Two Targets in One Night Using Different Filters.
Whether I’ve imaged it before. Some nights this is actually the first question. Re-imaging a target makes improvements in framing, filter choice, moon phase timing, or focus easier to see in a direct comparison, and the extra data helps in processing. I also just like new targets, so mood plays a part.
If it’s still a tie, pick one. For brand-new targets, I might look up example images to see which appeals more. If everything’s even, I pick one and go.
Notice what’s missing from that list: light pollution. Under a Bortle 9 sky, I use filters to deal with the skyglow, but I’ve never passed on an object purely because of it. The trees decide what I can image. The light pollution only shapes how I image it.
Let Your Sky Shape Your Gear Plans
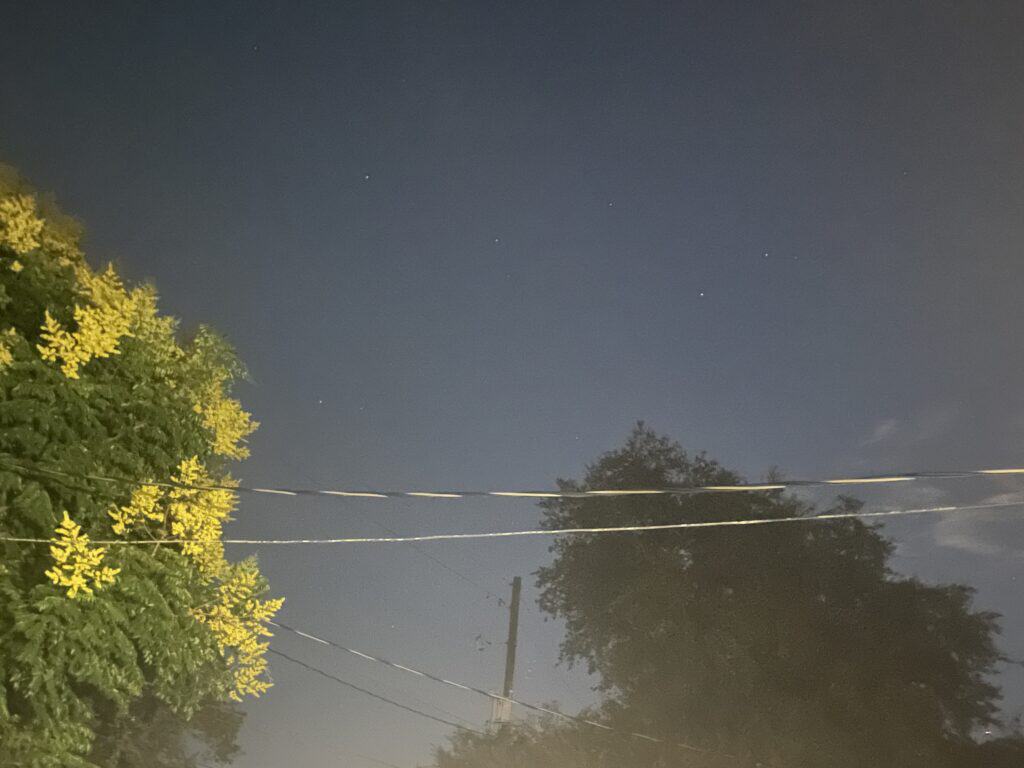
Knowing your open sky also helps you plan future gear. That doesn’t mean ignoring everything else. Your viewing area isn’t set in stone, and different gear helps with different targets.
But if your open sky mostly gives you small galaxies, plan toward a longer focal length and galaxy-friendly filters. If it’s mostly large emission nebulas, that points toward shorter focal lengths and filters built for emission nebulas.
Gear can’t fix a tree line. Your sky can tell you which gear is worth buying next, though.
Final Thoughts
Don’t fight what’s available to you. Work it into your planning. Instead of staring at what you can’t reach, look at what you can. You may even start noticing objects other people skip while they chase something they think is better.
If there’s a target you badly want and your yard can’t reach it, let that be motivation for a short drive or a bucket-list trip, not a letdown. There are so many amazing objects in the night sky. Find the ones that work for your situation, and make every clear night count.
Tagged
In This Post
Current Setup
Equipment links are affiliate links – they help support this site at no cost to you.