
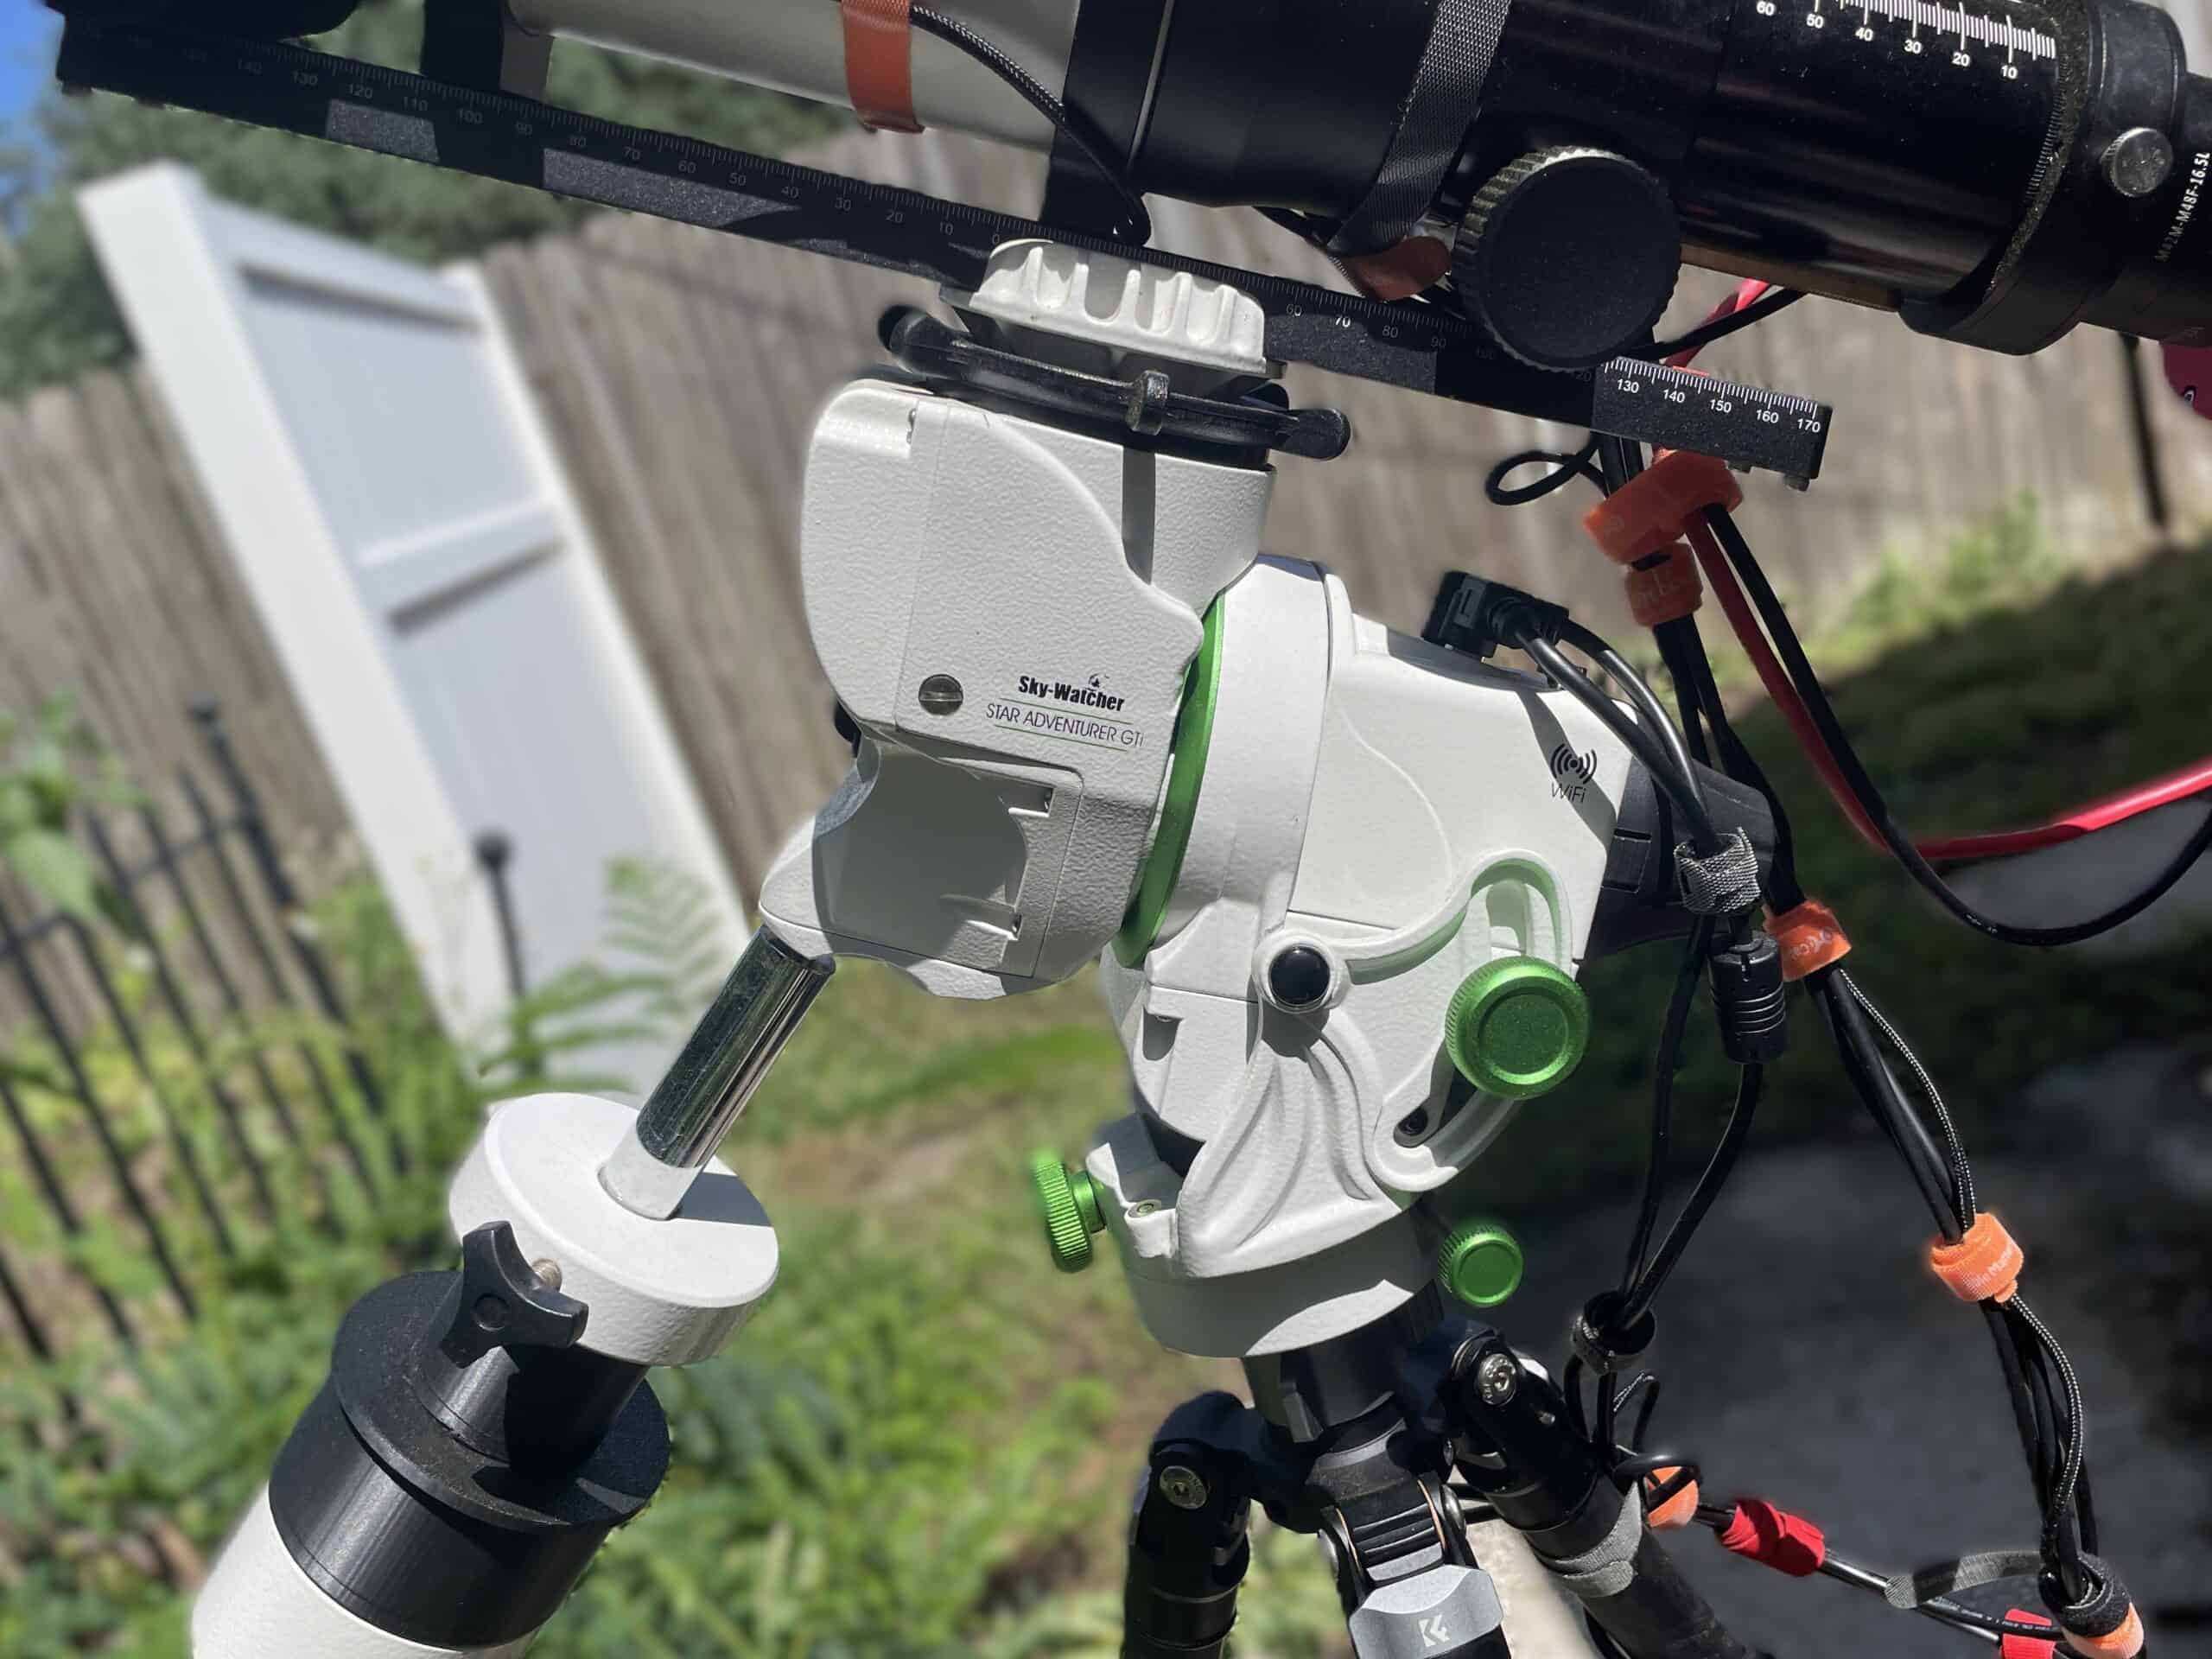
I bought the wrong tracker before I bought the right one.
Not because it was a bad tracker. The Star Adventurer 2i is a genuinely good beginner mount, and if you read any roundup of budget trackers, it’ll be on the list. I bought it, set it up in my backyard, and couldn’t polar align. Not because I did it wrong. Because I don’t have a direct, unobstructed line of sight to Polaris from where I image. No amount of practice was going to fix that. I returned it and found a Star Adventurer GTi through Amazon Warehouse instead, which solved the actual problem: plate solving instead of a manual polar scope.
That’s the mistake worth talking about. Not “the 2i is bad gear.” It isn’t. I just bought it before I understood my own constraints. That’s easy to do in this hobby. Beginner advice turns into an equipment list fast:
- Camera
- Telescope
- Mount
- Tripod
- Filters
- Guide scope
- Controller
- Power
- Dew heaters
- Software
Before long it feels like you need the whole rig on day one just to get started. You don’t. And buying like you do is usually how you end up with my exact problem: a piece of gear that’s fine on paper and wrong for your situation.
The right beginner setup isn’t the one that does the most. It’s the one built around the specific thing most likely to stop you from collecting usable data, and for most people starting out, that thing isn’t the camera.
Let’s dive into how that plays out from $500 up to $2,000.
Start With What You Actually Want to Capture
Decide what you’re most interested in imaging right now. Not forever, but right now.
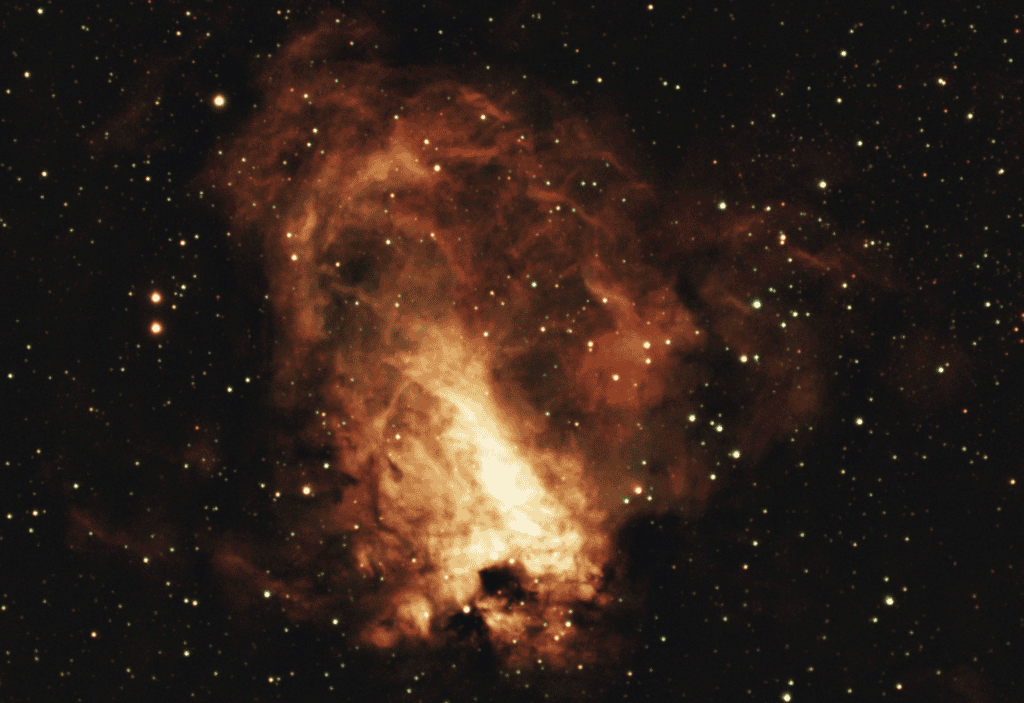
I wanted deep-sky objects and nebulae. That’s still the honest answer. It’s why my whole gear path (the refractor, the tracking mount, the filters) is built around wide, forgiving framing rather than magnification. If you want something else, your path looks different, and that’s fine. The point isn’t to pick the “correct” path. It’s to pick one, so your money has a job to do. Here are a few common paths people take when starting in astrophotography.
Milky Way and Nightscape Photography
The simplest entry point. Camera, lens, tripod, short exposures. No telescope required, and a tracker is optional early on if you understand the tradeoff. This is a legitimate place to start if you want the landscape side of night photography, or want to learn focus, exposure, and stacking before building toward something deeper.
Wide-Field Deep-Sky Astrophotography
This is my path, so this is the section I can speak to directly.
If you want nebulae, larger galaxies, and star clusters, you don’t need to start zoomed in, and starting too zoomed in makes everything harder. A camera lens or small refractor on a tracking mount gives you more forgiving framing. Tracking errors are less visible. Setup is lighter. You get more room to actually learn instead of fighting the system every night.
Planetary and Lunar Imaging
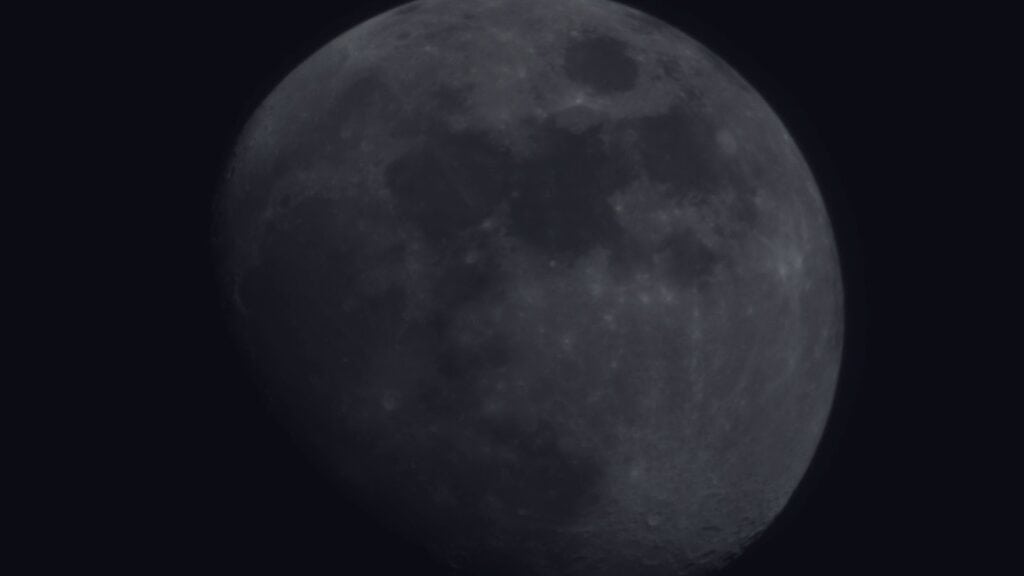
I want to be upfront about this one: I don’t have a dedicated planetary rig. What I do have is a handful of nights pointing my ASI533MC Pro at the Moon and recording video through my existing wide-field setup, without any of the gear built specifically for that job.
That’s exactly why this section belongs in a budget guide even though I can’t walk you through it in depth. Planetary and lunar imaging asks for a different image train: more focal length, video capture instead of long exposure, and that difference matters at the decision stage, before you spend anything. If the Moon and planets are genuinely what excite you, that should shape your telescope and camera choice from the start, not get bolted on later.
That said, picking a path for your first setup doesn’t wall you off from the others. My Moon nights are proof of that. I pointed a wide-field deep-sky rig at the Moon and got something usable. It just wasn’t optimized for it. No dedicated planetary camera, no barlow, no focal length built for that kind of detail. Most gear overlaps more than beginner guides make it sound. What changes is how much you have to work around. A deep-sky setup can still catch the Moon or a bright planet, but you’ll just hit limitations sooner and need workarounds that dedicated planetary gear wouldn’t require. That’s a very different thing from being locked out of a path entirely, and it’s worth knowing the difference before you assume your first setup has to be your only setup.
You Can Want to Do More Than One Type
Wanting to shoot everything is normal. I’ve dove into nebulas, galaxies, and the moon, with that list roughly in the order of how much time I’ve actually spent trying.
The problem isn’t the interest. It’s trying to buy one setup that does all of it well. That’s usually where the disappointment starts: too much focal length for deep-sky, not enough for planets, too much weight for the mount, too many compromises to actually use on a Tuesday night.
A lot of the gear around the image train carries over as you grow. This includes the mount, tripod, power, dew control, and workflow. The image train itself (telescope, camera, filters) is what’s specific to the path.
A great camera cannot fix bad tracking. A sharp telescope cannot fix an unstable tripod. An amazing rig can’t solve specific and unique constraints.
That’s not a slogan. That’s what happened to me with the Star Adventurer 2i. The mount wasn’t bad. It just couldn’t solve the problem my sky actually had.
Around $500: Pick One Entry Point
At $500, I wouldn’t try to build something that does everything. Pick the path, and put the money where that path actually needs it.
The Smart Telescope Route
If simplicity matters most, a smart telescope-style setup earns its cost by removing setup friction. It takes away the need to build a rig from various parts and learn how they all fit together, but it also limits how much you can upgrade down the road. I don’t have personal experience with them, though, so I can’t vouch for or dismiss any specific one.
The Traditional Route
If you want the traditional process and deep-sky is the goal, I’d rather see the money go toward tracking than toward the camera. If you already own a DSLR, use it. It’s not the end-all-be-all camera. You’ll run into constraints, and you’ll miss the conveniences a cooled, dedicated astro camera gives you, but it will get you started, and you can still pull decent images out of it. I know that firsthand, because my own first real setup was a Sony ZV-E10 I already owned, paired with a tracker. The camera was the thing I already had. The tracker was the thing I had to get right.
You don’t need a telephoto lens either. I chose to grab a Rokinon 135mm (around $250 to $300) from the start, but that was a preference, not a requirement. A kit lens can still produce good results while you’re learning the fundamentals.
Here’s the actual reasoning behind putting the money on the tracker: it’s the foundational piece. A tracker or mount can carry you through several iterations of camera and telescope. A camera or telescope can’t do that for a tracker. No matter how good the optics get, bad tracking is still bad tracking, and it will always be the limiter underneath everything else.
It actually gets worse, not better, as your other gear improves. A more precise camera and a longer telescope don’t give tracking more room to be sloppy. They actually reduce it. Errors that a shorter, more forgiving setup would hide start showing up sooner and more often once you add focal length and resolution. The tracker is the one piece of the system that has to keep pace with everything you add on top of it, which is exactly why it deserves the early money even when it’s the least exciting purchase on the list.
If the Milky Way and nightscapes are the actual goal, a camera, lens, and tripod with short untracked exposures can teach you a lot before tracking becomes necessary.
Around $750 to $1,000: Fix the First Real Bottleneck
For deep-sky work, that bottleneck is tracking, almost every time.
This is where I’d tell you to actually spend on the mount, even if the camera and telescope feel like the more exciting purchases. My tracker, after the 2i detour, ran about $450 once I landed on the GTi. My guide scope and guide camera together were closer to $150. None of that is glamorous. All of it is what let me start collecting usable subs instead of trailed stars.
If you’re imaging under heavy light pollution the way I do in my Bortle 9 skies, then this tier is also where a filter starts to matter, not as an afterthought but as part of the tracking-and-exposure conversation. A light pollution filter like my L-Pro doesn’t fix bad tracking or a bad target choice, but it does let me use longer exposures before background skyglow swamps the signal than I could without one. That’s not free. A filter changes how light reaches the sensor. It’s not strictly better or worse than shooting without one, just different, and the difference is worth understanding before you buy one. In a darker sky, you may not need that step at all.
An ASIAIR Plus or similar controller can go in this range too, but it’s a preference, not a requirement. I chose it for my situation, and there are other paths to the same result.
Around $1,000 to $1,500: Choose Simplicity or Growth
This is closer to a fork than a formula.
If low-friction imaging matters more to you than the traditional build, a smart telescope-style setup can still be the right call here, plainly said, since I still haven’t used one myself.
If you want the traditional path, this is roughly where my own gear moved next: an ASI533MC Pro (about $800) replacing the ZV-E10, and an SV503 refractor (about $400) replacing the Rokinon. That’s the point where the image train started actually matching the target type I cared about, instead of being whatever camera I happened to already own.
Don’t split this budget across every type of imaging at once. Wide-field wants tracking, stability, and a forgiving field of view. Planetary wants focal length and a different capture method entirely. Trying to buy for both at $1,200 usually means neither works well.
Around $1,500 to $2,000: Build Around Consistency
At this range, I still wouldn’t chase the biggest telescope first.
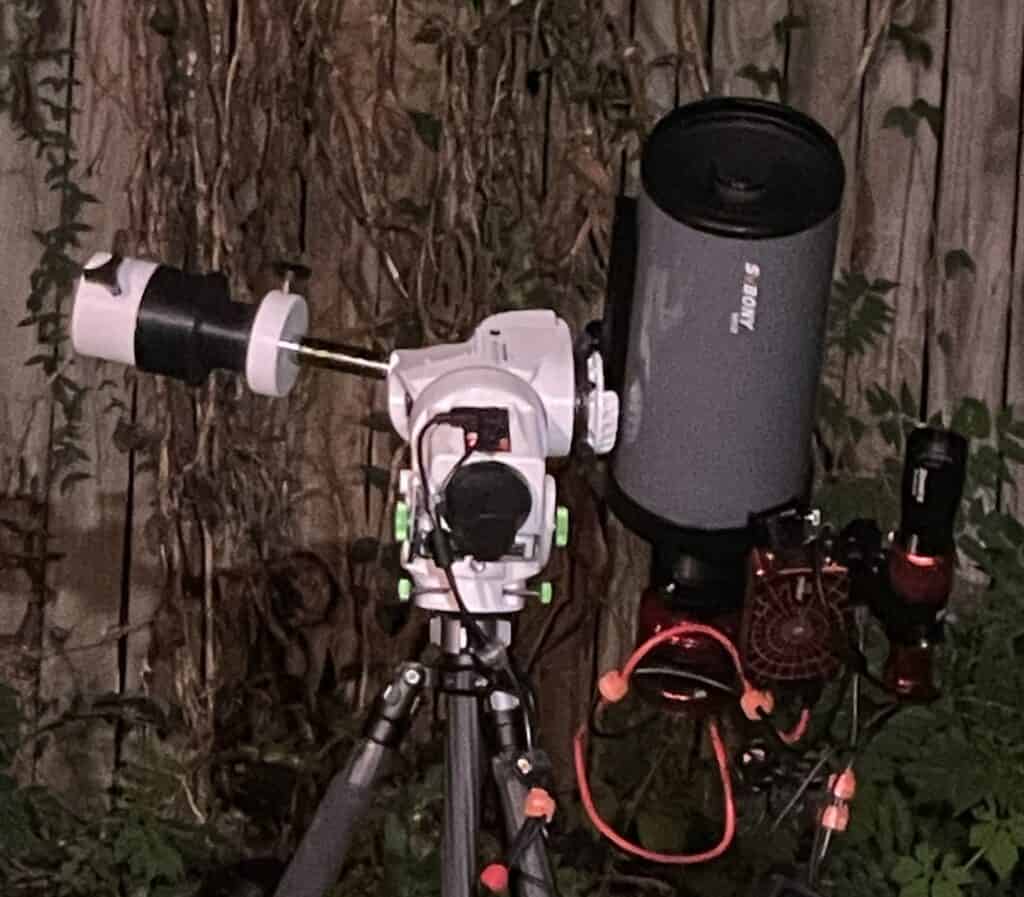
My most recent purchase here was an SVBONY MK127, around $450: more aperture, more reach toward fainter and smaller targets, on top of a foundation that already tracks reliably. That ordering matters. The aperture upgrade was only worth it because the mount and guiding underneath it were already solid. Adding more focal length to a foundation that was still fighting me would have just made the fighting worse.
Ask what’s actually repeatable: can the mount carry the added weight, is the tripod stable, can you power everything through a full session, do you need dew control. Those questions matter more during an actual night than any spec sheet.
This is also the range where I’m looking ahead rather than describing what’s done. My next step is likely a heavier-duty tracker, something in the class of the ZWO AM5N or a Skywatcher/SVBONY 150i, paired with a longer telescope, something like a Celestron C6, to reach smaller and fainter targets than my current setup can resolve well. I haven’t bought either yet. I’m mentioning them because the same rule applies going forward that applied at $500: solve the bottleneck the current setup actually has, not the one that looks impressive. This is the framework I use when deciding what to upgrade next.
Do Not Ignore Used and Returned Gear
The GTi that replaced my 2i came from Amazon Warehouse, for less than a new Star Adventurer 2i would have cost me. That’s the whole reason I could afford GoTo functionality at that stage instead of a manual mount: the discount, not a bigger budget.
Used, open-box, and returned gear is worth checking, especially for mounts and trackers, where the price gap between new and warehouse-discounted can be significant. Just check the condition, confirm what’s included, and understand the return policy. A cheap mount that doesn’t work isn’t actually cheap if it costs you every clear night that season.
Final Thoughts
The 2i wasn’t a bad purchase because it’s bad gear. It was a bad purchase because I bought it before I understood what my sky actually required. No line of sight to Polaris, no way to manually polar align, no way to image until I recognized that and changed course.
That’s the real question underneath this whole budget, at every tier: not “what’s the best setup for my money,” but “what’s actually going to stop me from collecting good data.” Once you know that (tracking, stability, light pollution, focal length, or just plain setup complexity), the budget gets a lot easier to point in the right direction.
You may still want to have the ability to image every possible object in the sky. I still do. But the setup that gets you there is the one built around what’s stopping you right now, not the one that looks complete on paper.
Tagged
In This Post
Current Setup
Equipment links are affiliate links – they help support this site at no cost to you.