
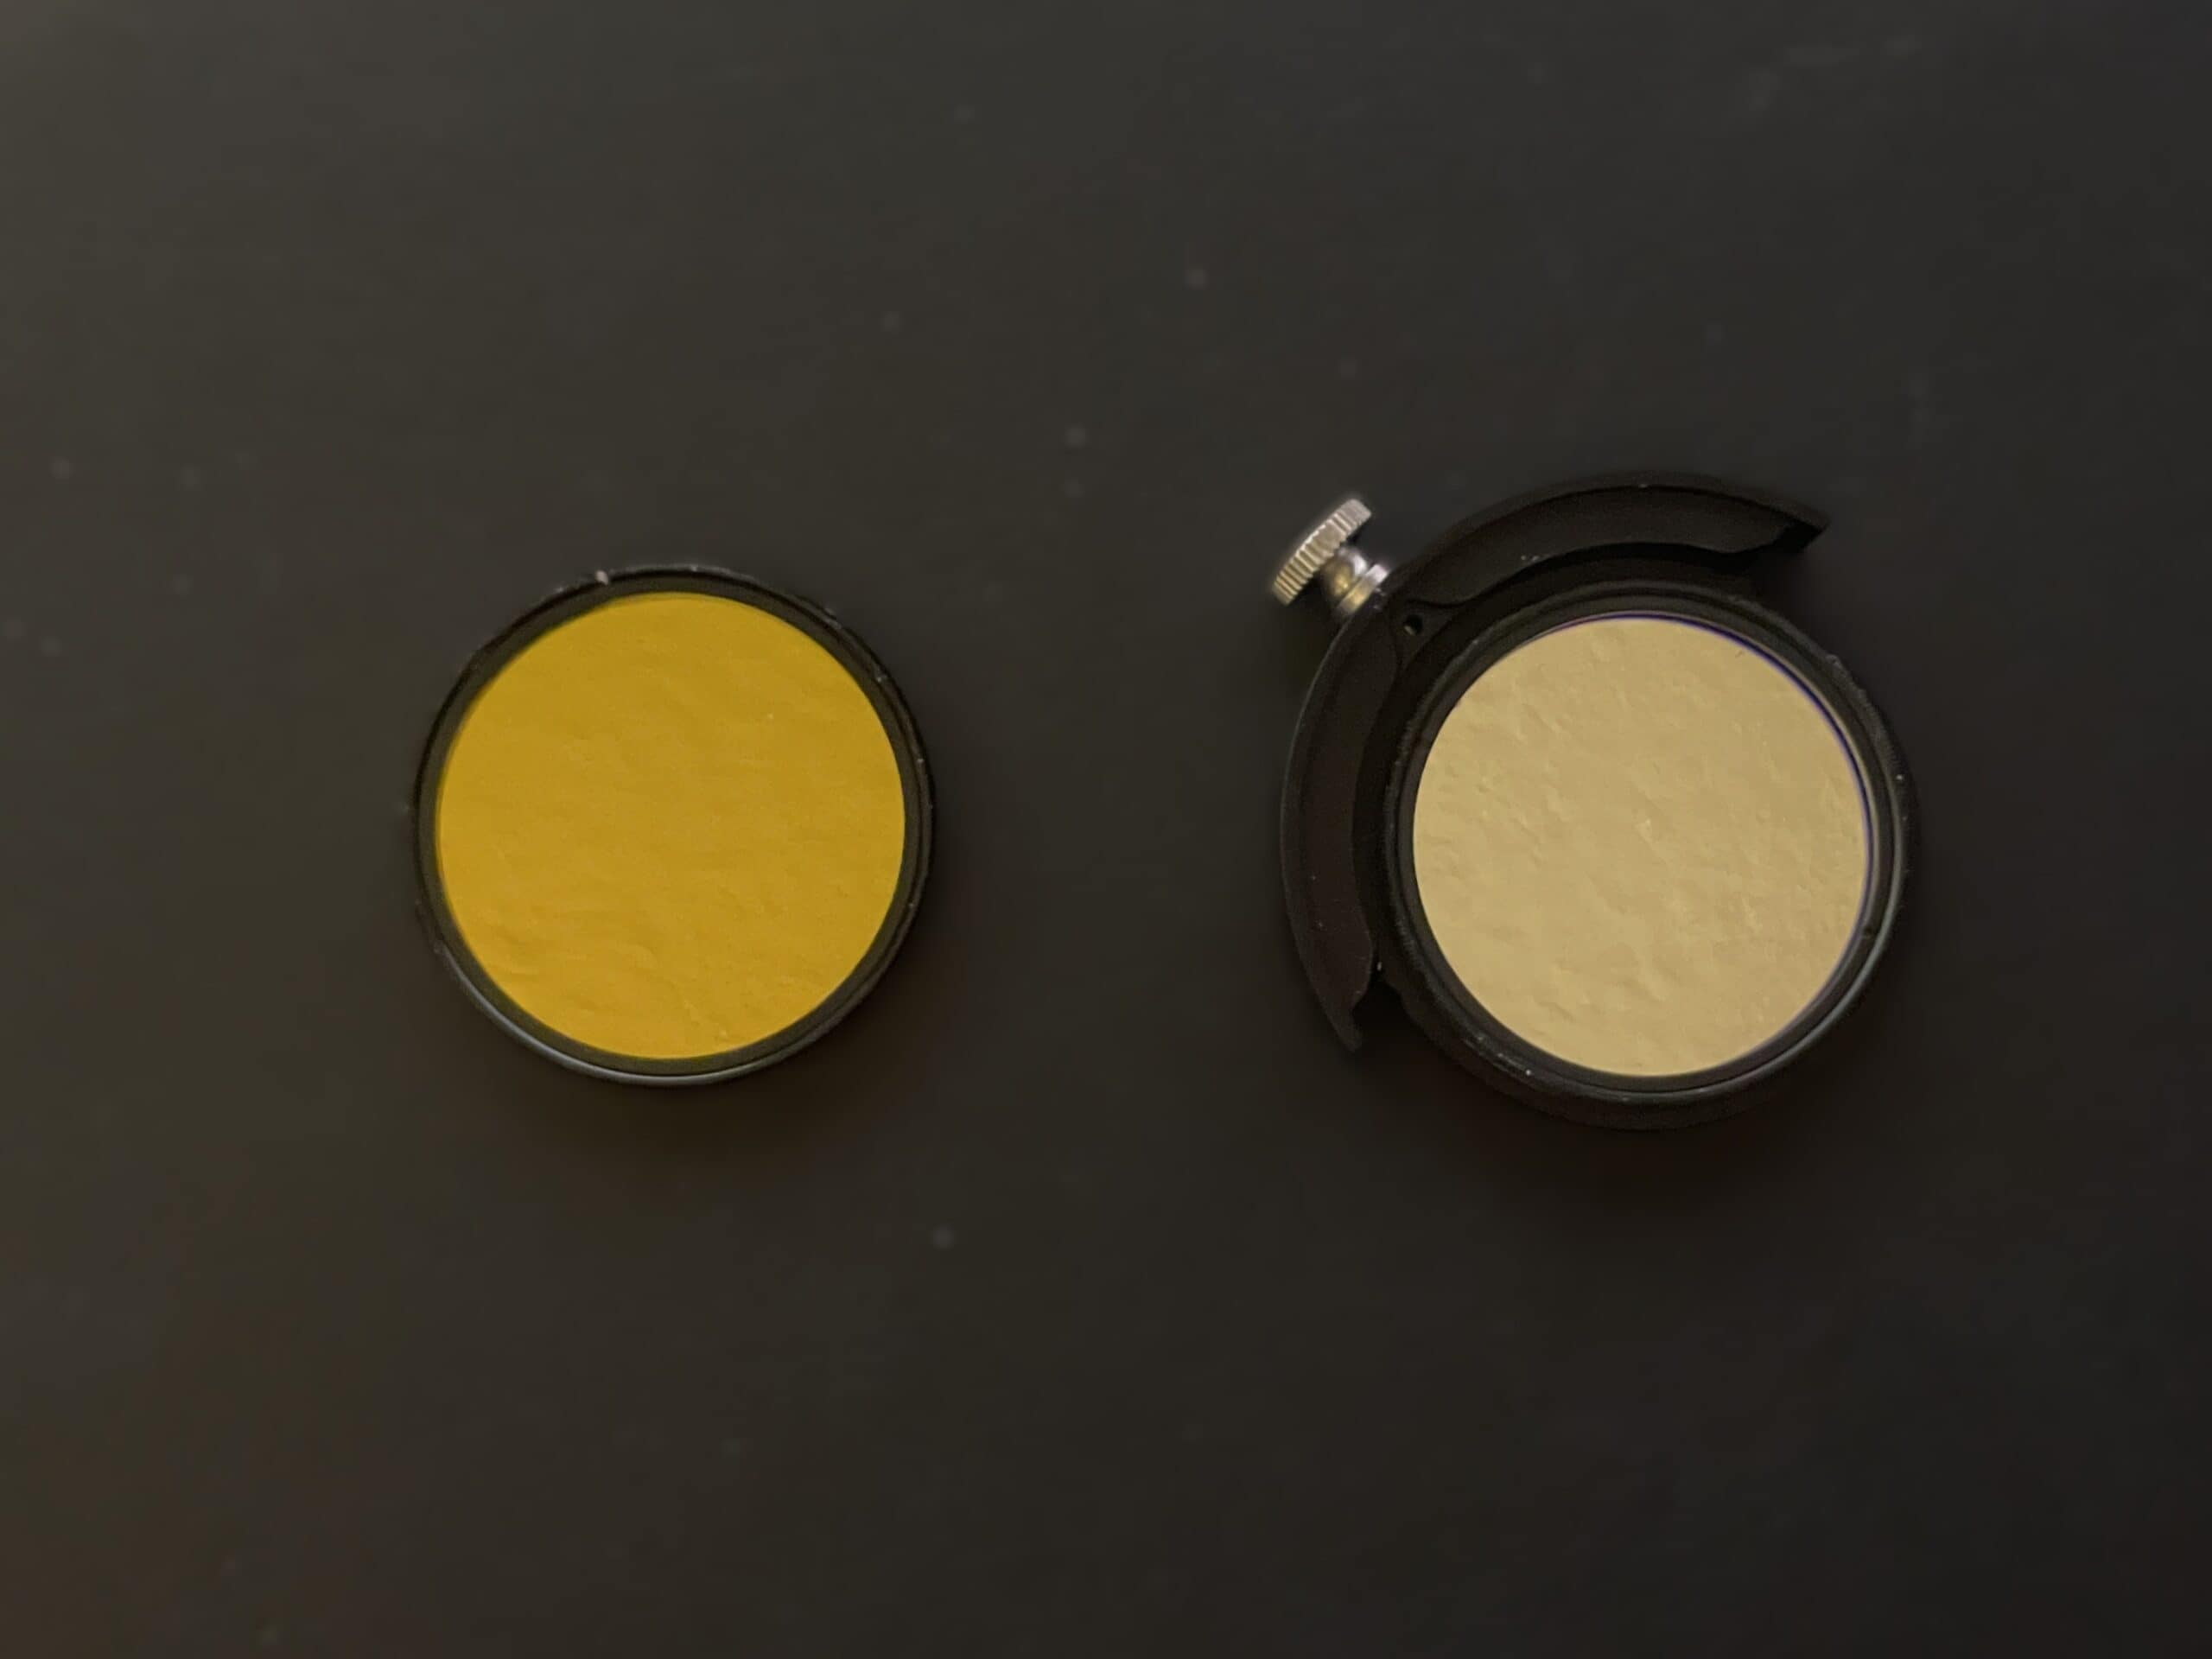
If you’ve picked up a couple of astrophotography filters, you’ve probably asked the question every beginner asks: which one is better? It’s a fair question — but it’s the wrong one. Filters aren’t ranked. They’re different tools that do different things, and the “right” one depends entirely on what you’re pointing your telescope at, what the sky looks like that night, and how you’re planning your session.
The real question isn’t which filter is better. It’s which filter matches the job in front of you right now.
The filter decision starts with your target — specifically, what type of object it is. An emission nebula, a galaxy, a star cluster, and a reflection nebula all emit light differently, and that difference is what determines which filter will actually help you capture data.
Let’s dive into how that decision plays out in practice.
What Each Filter Type Actually Does
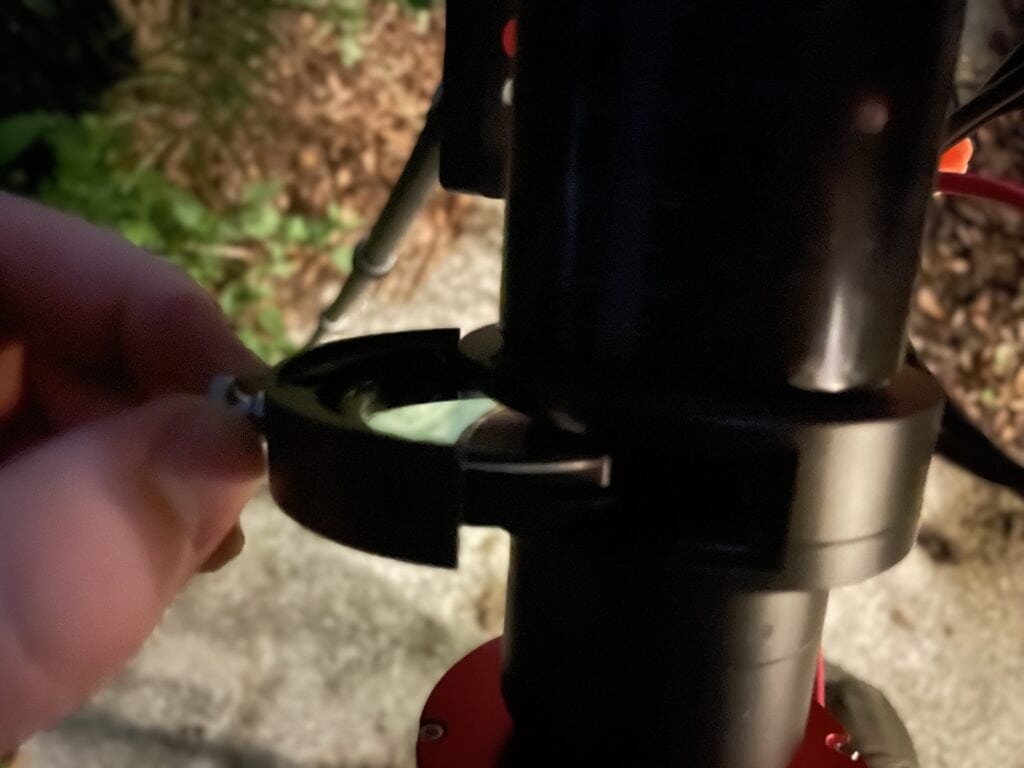
There are two broad categories of filters you’ll run into as a beginner: dual band (or narrowband) filters and broadband light pollution filters. They’re not interchangeable, and understanding what each one passes — and blocks — is the key to knowing when to reach for which.
A dual band filter allows two specific wavelengths of light through, typically H-alpha and O-III. These are the wavelengths that emission nebulae are strongest in. When you image something like the Rosette Nebula or the Lagoon Nebula through a dual band filter, you’re isolating exactly the light those objects produce and cutting out almost everything else — including most of the light pollution and moonlight in your sky.
Broadband targets are a different story. Galaxies, star clusters, and reflection nebulae emit light across a wide range of wavelengths. A dual band filter would choke out most of that signal because it’s only letting two narrow slices through. For those targets, you need a broadband or light pollution filter — something that blocks the specific wavelengths produced by artificial light sources while still letting through the full visible spectrum your target is emitting.
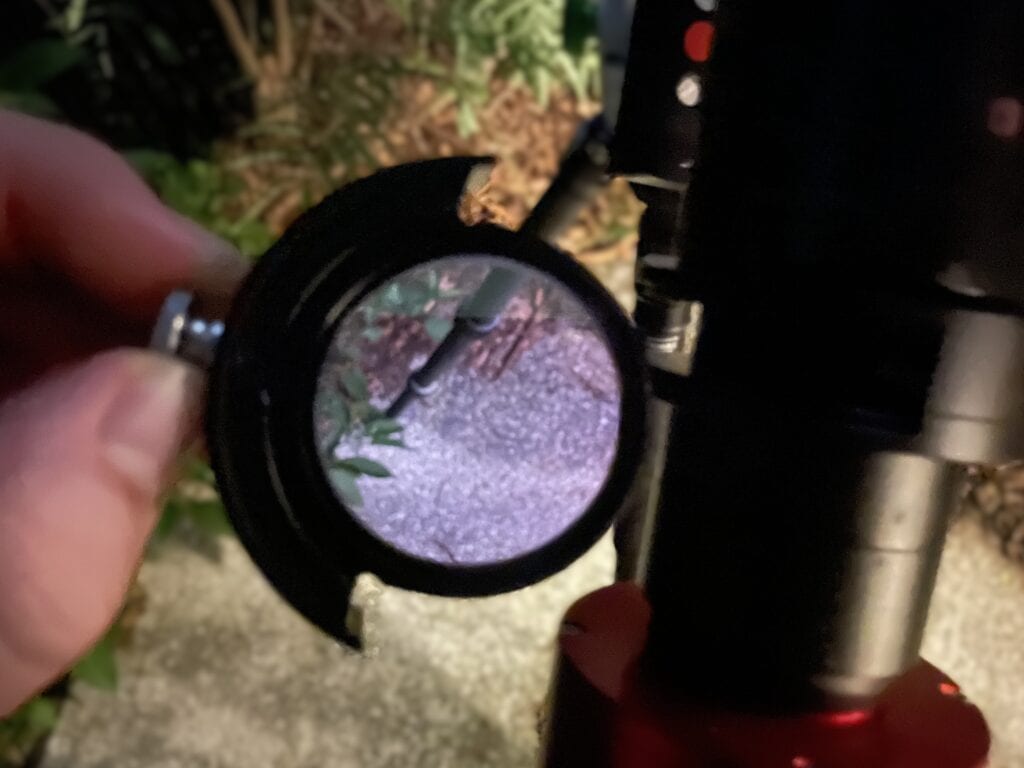
If you’re at a genuinely dark site, you might not need any filter at all for broadband targets. But if you’re imaging from a city — a Bortle 8 or 9 sky — a light pollution filter is essentially your baseline. Imaging without one is technically possible, but you’re fighting an uphill battle against every streetlight, porch light, and parking lot in your neighborhood.
How Light Pollution and Moon Phase Shape the Decision
Target type gets you to the right filter category. But the sky you’re working under on a given night adds a second layer to the decision.
In heavy light pollution, some form of filtration is almost always in play. That’s the reality of urban imaging. The question isn’t whether to use a filter — it’s which one matches your target.
Moon phase is where it gets more interesting. A full or bright moon is just another light source. Think of it like the light on your back patio, except you can’t turn it off and it’s flooding the entire sky. Under a bright moon, you’re dealing with a washed-out background that competes with your target’s signal, and the balance between getting enough exposure to capture data and not oversaturating the image gets harder.
Here’s the important part: the moon doesn’t directly tell you which filter to use. What it does is change which targets are viable. A bright moon makes broadband imaging significantly harder because that extra light floods the same wide spectrum your target emits. But a dual band filter handles that added light much better — it’s already blocking everything outside those two narrow wavelength ranges, so the moon’s contribution gets filtered out along with the light pollution.
The practical result is that a bright moon pushes you toward emission nebulae and a dual band filter. Not because “narrowband under a full moon” is a rule someone wrote down, but because the moon narrows the list of targets you can realistically capture good data on, and the targets that survive that cut happen to be the ones a dual band filter is built for.
On darker nights with a new moon or a thin crescent, your options open up. Galaxies, clusters, and reflection nebulae are all back on the table with a broadband filter, and you’ll get cleaner data without the moon competing for attention in your frames.
The Calibration Frame Factor
This is the part most filter guides never mention, and it only matters once you’ve actually planned a real session.
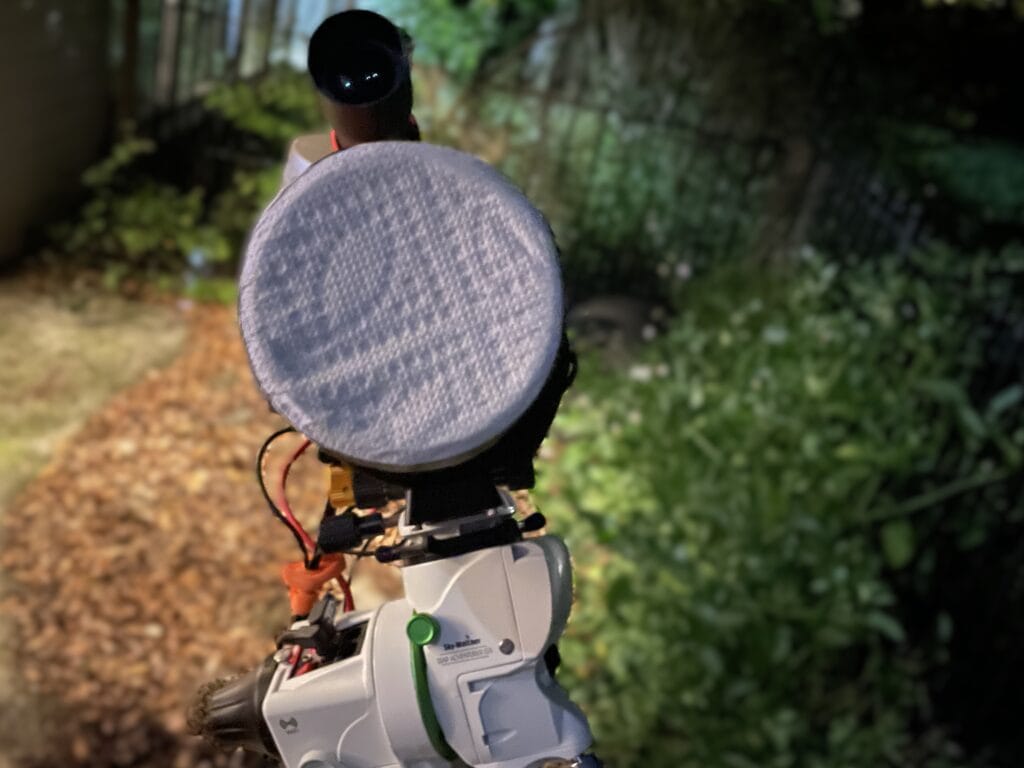
Any time you change something in your imaging train — including swapping a filter — you need a separate set of flat calibration frames. Flats correct for vignetting and dust in your optical path, and that correction is specific to the exact configuration you were imaging in. Change the filter, and you need new flats.
If you’re imaging two targets in one night, this matters. Switching filters between targets means pulling a set of flats before you make the change, then pulling another set after. That’s extra time and extra steps in your workflow. The simpler option is to choose two targets that use the same filter — two emission nebulae on a dual band, or two broadband targets on a light pollution filter — so you only need one set of calibration frames for the whole session.
This isn’t a dealbreaker. Plenty of sessions involve a filter change. But it’s a real logistical consideration that shapes how you pair targets and plan your night. If you’ve ever wrapped up a long session and realized you still have two rounds of flats to shoot before you can pack up, you understand why planning around a single filter has its appeal.
Filters Won’t Fix a Bad Foundation
Before you spend too much energy on which filter to use, make sure the basics are solid. Focusing, tracking, and polar alignment all need to be dialed in before a filter can do its job. A dual band filter on a poorly tracked mount still produces trailed stars. A light pollution filter with bad focus still produces soft data.
Filters help you capture more usable signal from your target. They don’t fix problems upstream in your imaging chain. Get the foundation right first, and the filter becomes the tool it’s supposed to be — not a band-aid for something else.
Final Thoughts
Filters aren’t intimidating accessories reserved for advanced imagers. They’re practical tools that help you capture more data from the targets you’re already chasing. The decision tree is simpler than it looks: start with what you want to image, factor in the moon and your sky conditions, and think about how the filter choice fits into your session plan.
Don’t be afraid to use them. That’s the whole point — they’re there to work for you, not to add complexity. And once you get comfortable thinking through that target-first decision chain, choosing the right filter for the night stops being a question and starts being part of the plan.
Tagged
In This Post
Current Setup
Equipment links are affiliate links – they help support this site at no cost to you.