
Astrophotography Session Workflow: Start to Finish
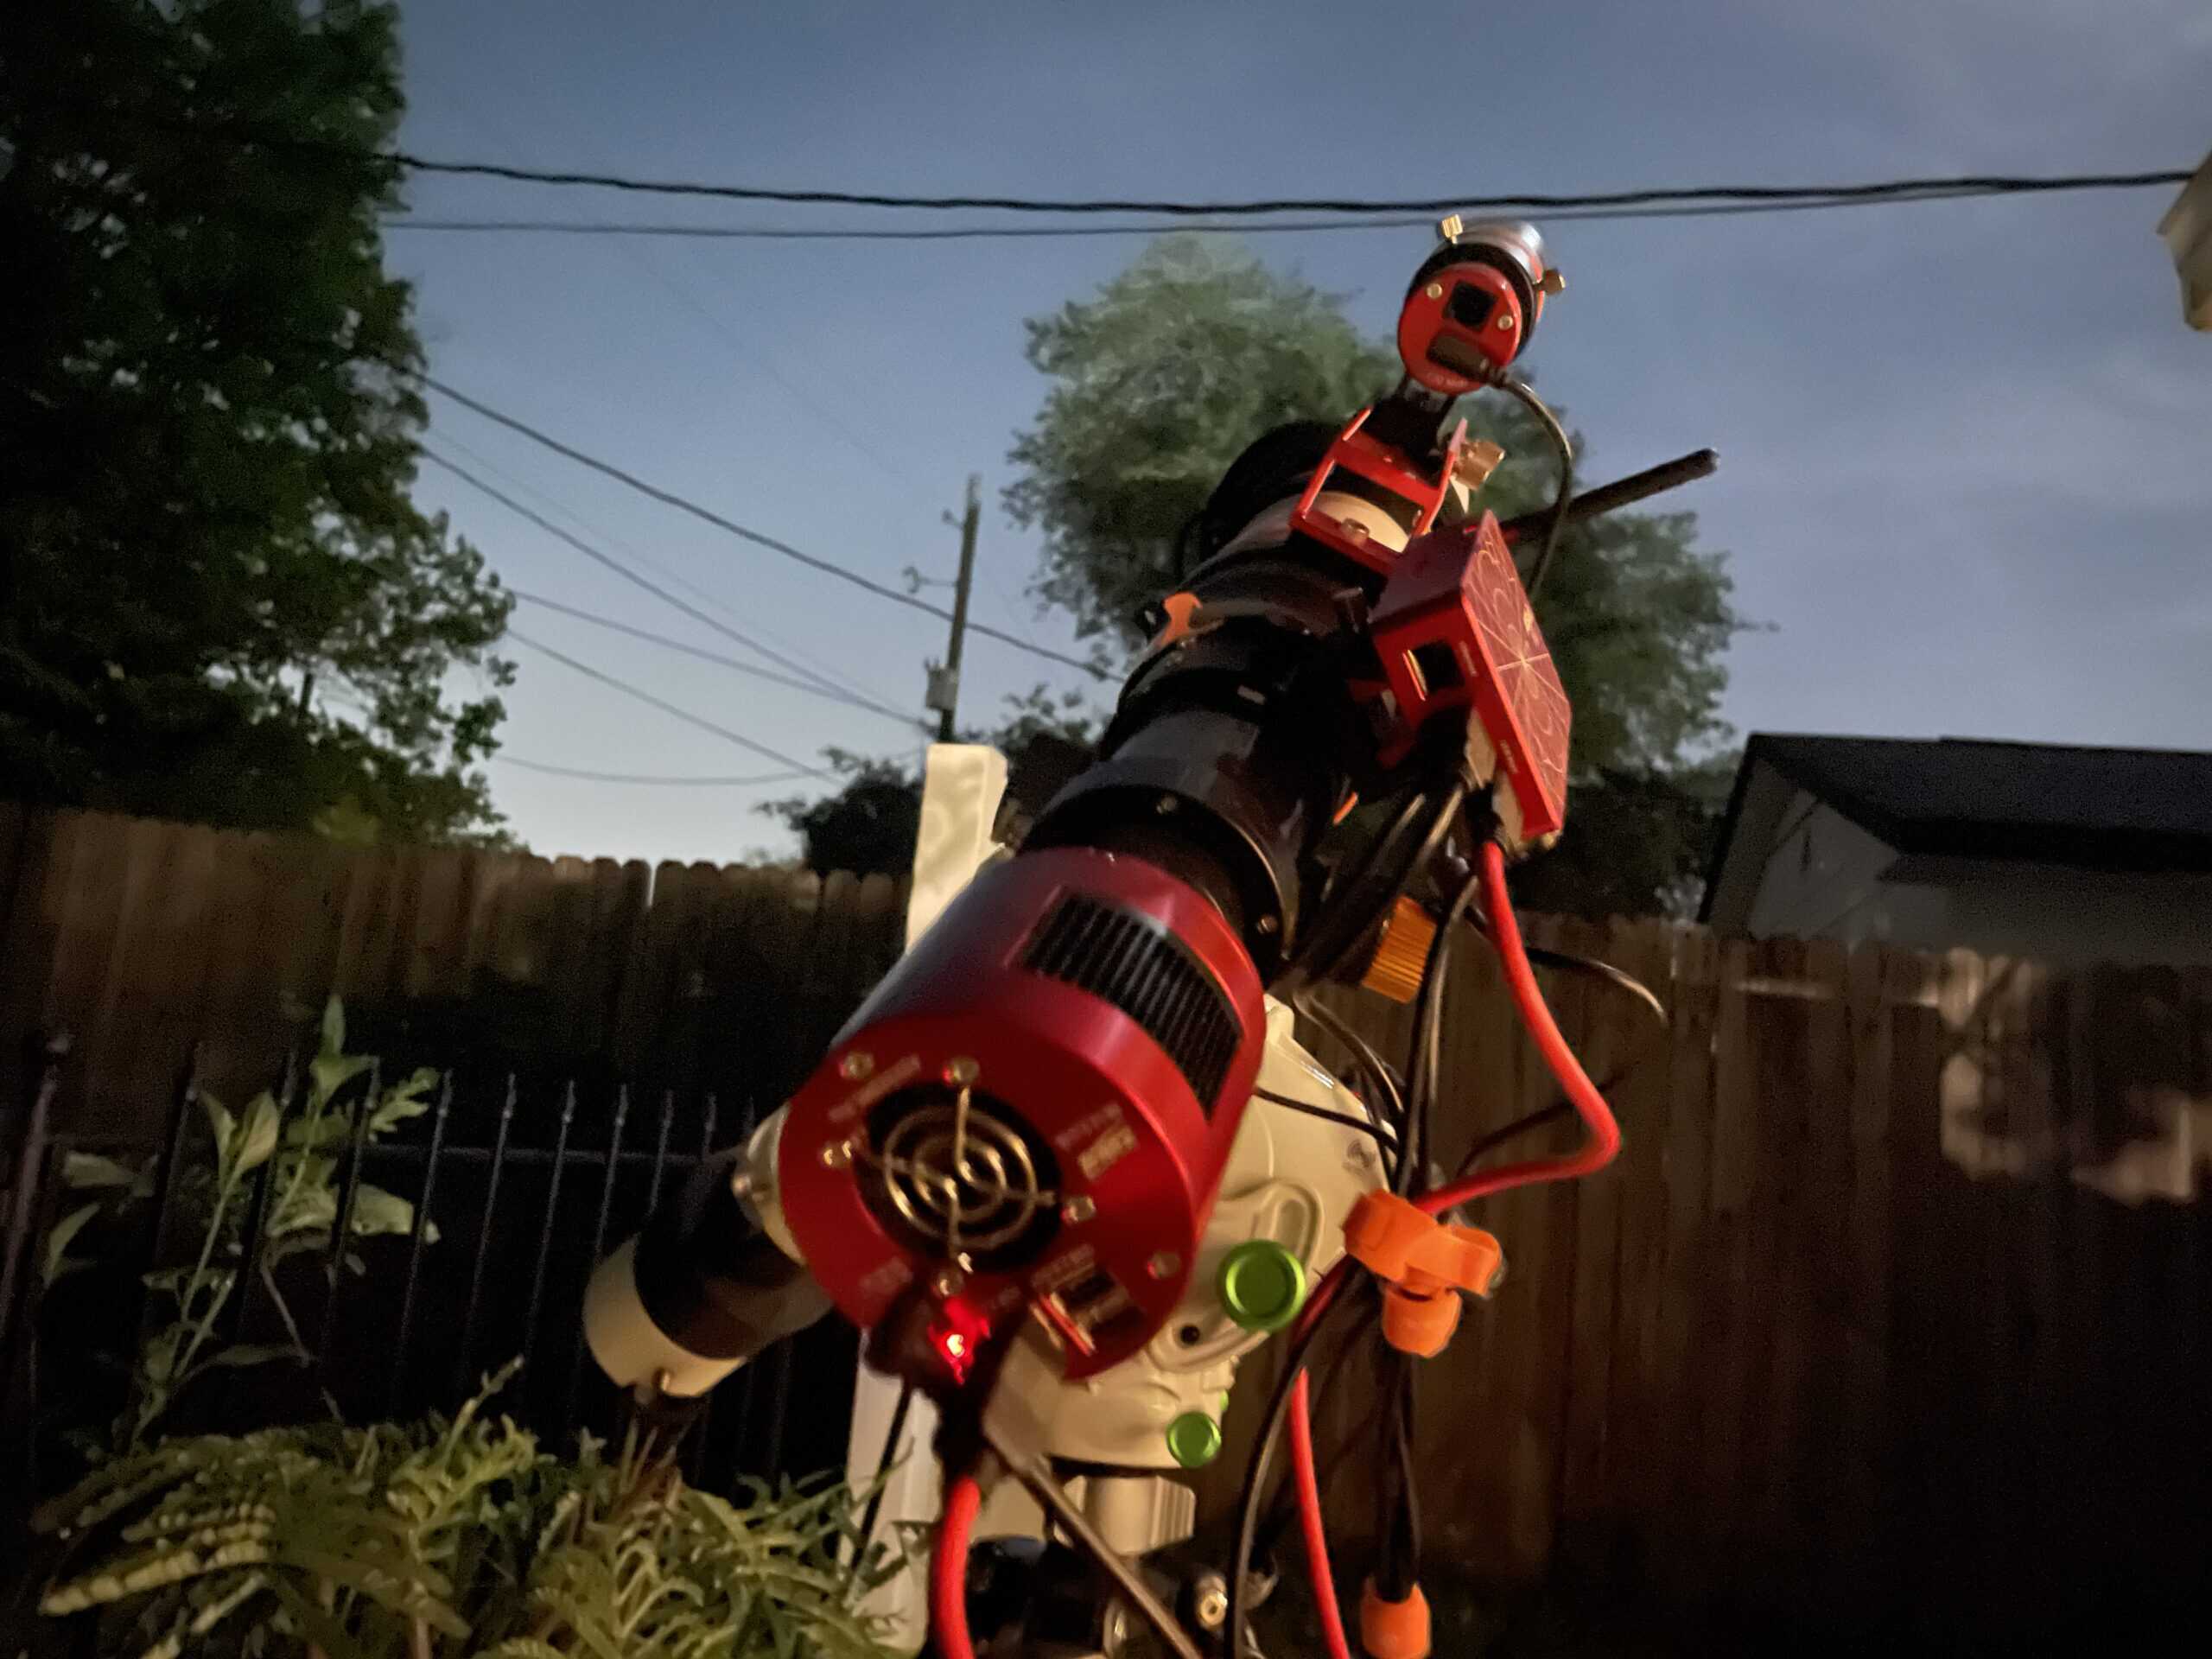
There’s a frustrating gap between understanding your gear and actually knowing how to run a session. You can read about mounts, cameras, and guiding for weeks and still show up to your first real session feeling like you’re improvising. And sometimes even when you execute everything correctly, the result doesn’t look like what you imagined.
That’s not a sign you’re doing it wrong. That’s just how this hobby works.
The goal of this post isn’t to promise you a perfect session. It’s to walk you through a complete imaging workflow from setup to morning — the actual sequence of steps that keeps a session running smoothly — and give you the right mindset to handle the parts that don’t go according to plan.
Here’s the astrophotography session workflow from start to finish: keep your rig assembled between sessions when possible, then execute in this order — polar alignment, guiding calibration, slew to target, test image, autorun, and collect calibration frames in the morning. That’s the spine of every session.
Let’s dive into each step so you know what you’re actually doing and why it matters.
Polar Alignment — Don’t Let Your Location Stop You
Polar alignment is the first real task of every session, and it’s also the step that stops a lot of beginners before they even get started. If you’re imaging from a light-polluted backyard, a cramped balcony, or any spot where Polaris isn’t visible, it can feel like the hobby isn’t accessible to you.
It is.
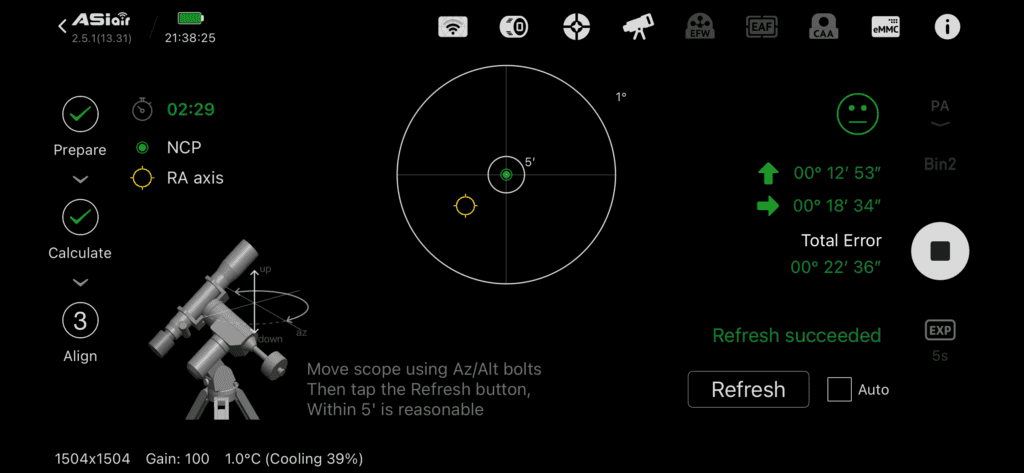
Tools exist specifically to solve this problem. Software-based polar alignment through something like the ASIAIR uses plate-solving to align your mount off any open patch of sky — no direct line of sight to Polaris required. Is it perfect? No. Does it get you imaging? Absolutely.
The mindset shift here matters: polar alignment isn’t a gatekeeping ritual for people with perfect dark skies and clear northern horizons. It’s a solvable problem. There might be a tool, a workaround, or a piece of software that costs something — but it opens a door. Struggling through it without looking for solutions just delays everything that comes after. Use what’s available. Get aligned. Move on.
Guiding Calibration — Good Enough Beats Perfect Every Time
Once you’re polar aligned, the next step is guiding calibration. These two things are related but distinct, and it’s worth keeping them separate in your head.
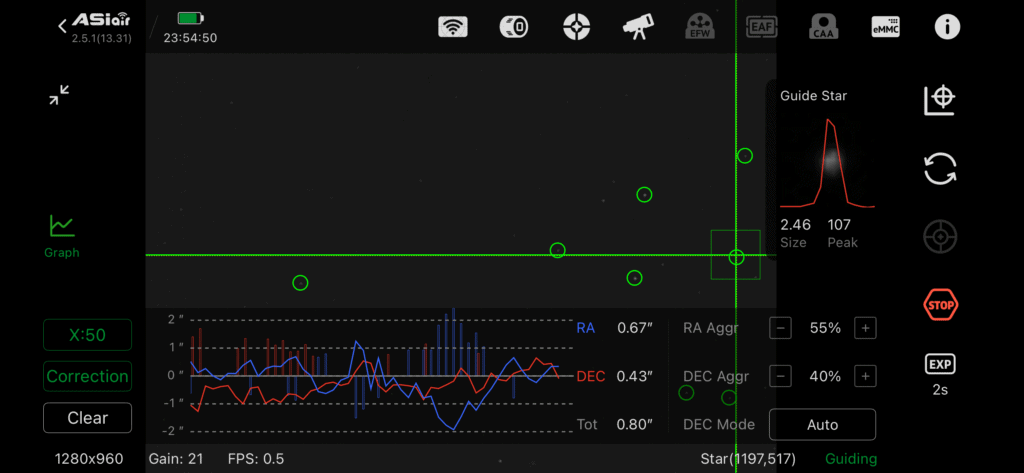
Calibration is a measurement step. The software moves the mount in known directions and watches how the guide star moves on the sensor. It’s building a map: when I send this command, the mount responds this way. That map gets used throughout the rest of the session.
Guiding is what happens after — the live, ongoing corrections that compensate for the real-world imperfections in your setup. Periodic error in the mount, slight imbalance, atmospheric effects — guiding is constantly nudging the mount to counteract all of it.
If you skip calibration or let a bad calibration slide, the corrections that follow will be based on wrong information. Your guide graph might look busy, stars can elongate, and you’ll lose frames you could have kept.
Here’s the practical takeaway: you don’t need a perfect balance or a perfectly tuned mount to get a good calibration. Get to a reasonable baseline — reasonably balanced, reasonably aligned — and let the software handle the rest. Chasing a flawless setup before you’ll allow yourself to start imaging is a bad trade. Every minute spent over-tuning is a minute of light you’re not collecting.
The Test Image — Three Things to Check Before You Commit
Before you lock in an overnight autorun, take a test image and check three things.
Framing. Is the target actually in the frame? Plate-solving and GoTo mounts are accurate, but a quick confirm before a multi-hour run is worth a few seconds.
Focus. This one trips people up more than they expect. Earlier steps in setup — polar alignment, calibration — don’t require perfectly round stars. By the time you’re ready to image, you might not have touched focus in a while. A sharp test frame will show you where you actually stand. Soft stars make soft data, and no amount of processing will recover that.
Exposure time. This is where the histogram earns its place. You want your data roughly in the middle — not crushed to the left with nothing to stretch, and not pushed too far right where you risk blowing out stars or bright regions of a target. Dial in your exposure here before committing to the full run. If you’re imaging without a filter under light-polluted skies, this matters even more — it’s easy to overexpose faster than you think.
Get all three right on the test frame, then start the run.
Running Unattended — What to Know Before You Go to Sleep
Leaving your rig running while you sleep sounds like a leap of faith the first time. It gets a lot easier once you understand what you’re actually trusting.
The first thing worth acknowledging is location. Running an unattended session in your own backyard is a very different situation from leaving gear out in a shared space or somewhere you don’t have exclusive access. Know your environment before you commit to an overnight run.
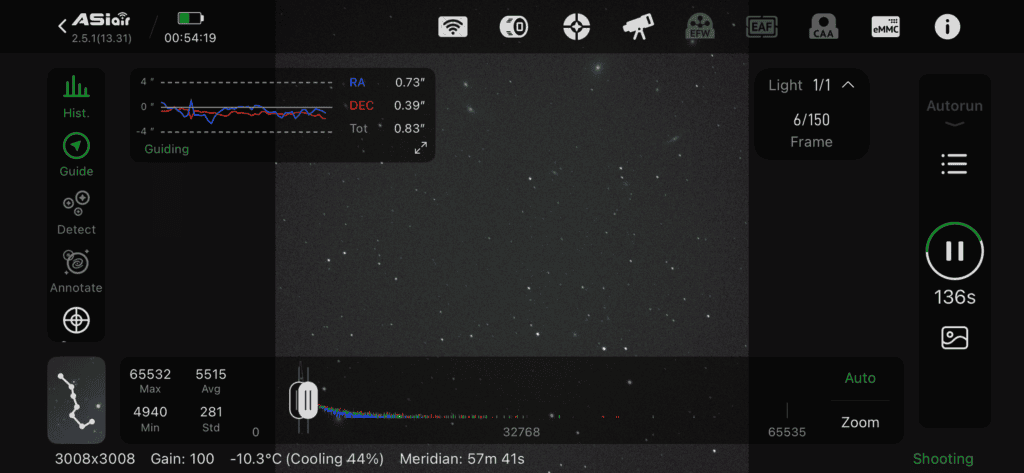
Assuming you’re in a controlled location, what makes an unattended session work is good software. The ASIAIR handles autorun sequences, monitors guiding, dithers between frames, and can even handle meridian flips. You’re not just pressing record and hoping — the session management software is actively keeping things on track while you’re not watching.
What’s waiting for you in the morning is your light frames from the overnight run. The actual imaging is done. The last task is collecting your calibration frames to match — and that’s not something you want to skip.
Calibration Frames — Flats, Dark Flats, and the Filter Timing Detail
Calibration frames are the frames that make your light frames usable, and the morning routine deserves real attention.
Flat frames capture the dust and debris inside your imaging train — on the sensor, the filter, the lens or telescope glass. Every optical surface contributes to the pattern that shows up in your data. Flats measure that pattern so it can be subtracted out in processing.
The detail that bites people: take your flats before you change anything. If you switch filters mid-session, take flats for the first filter before you swap. A flat only removes the pattern it was taken under. A different filter introduces a different pattern, and if your flats don’t match, you’ll have artifacts in your processed image that you can’t fully fix.
Dark frames are worth a separate mention for anyone using an uncooled camera. Cooled dedicated astronomy cameras manage sensor temperature to keep noise consistent session to session — so darks taken once can be reused across many nights. Uncooled cameras don’t have that luxury. Temperature changes mean the noise pattern changes, which means darks can go stale. Depending on your exposure length, a full dark library can take a significant amount of time to collect. Build that into your expectations early so it’s not a surprise.
When Things Go Wrong — How to Monitor, Troubleshoot, and Reset Expectations
Even a well-executed workflow will eventually produce a session that doesn’t go the way you planned. That’s not failure — that’s astrophotography.
The most useful habit you can build is periodic check-ins during the session. You don’t need to babysit your rig all night, but glancing at it every so often pays off. If something goes wrong — a guide star is lost, a cable gets snagged, clouds roll in — catching it early means you only lose the frames during the problem. Everything before and after is still usable. Reviewing what happened during check-ins also gives you a record of what was going on when the issue occurred.
Which brings up preparation, because a lot of problems are preventable before the session starts. A well-balanced rig reduces the load on your guiding system. Organized cables with a proper service line — enough slack for the mount to complete a full range of motion without tension or snag — are the difference between a clean overnight run and waking up to a rig that stopped tracking at 1 AM. (This is worth its own post, and we’ll get there.)
And for the beginner who did everything right and still didn’t get the result they expected: go back through the sequence and confirm nothing was skipped. Review your check-in notes if you took them. Then honestly ask whether your expectations matched what your equipment is actually capable of. Every piece of gear has limits — that’s not a criticism of the gear, it’s just reality. Expectations beyond those limits aren’t a workflow problem.
And if that honest assessment tells you your gear genuinely can’t reach what you’re after, there’s a framework for figuring out what to upgrade next — one that starts with your imaging goals, not product pages.
Final Thoughts
The workflow exists to reduce friction — to get you from “I want to image tonight” to “the autorun is running and I’m going to sleep” with as few obstacles as possible. It’s not a guarantee of a perfect session. Wind kicks up. Cables snag. A cloud shows up exactly where your target is.
The pursuit of progress is the point, not the pursuit of perfection. Each session teaches you something, even the ones that don’t go as planned. Get the workflow locked in, trust the process, and keep going.
If you want to dig deeper into what actually makes a session successful beyond the mechanics, check out What Makes an Astrophotography Session Actually Succeed — it covers the mindset and decision-making side of sessions in more depth.
Tagged
In This Post
Current Setup
Equipment links are affiliate links – they help support this site at no cost to you.