
How to Know What Astrophotography Gear to Upgrade Next
You’ve captured a few targets. You’re getting comfortable with your workflow. And now you’re doing that thing — scrolling through telescopes and cameras at midnight, adding things to your cart, imagining what your images could look like with just one more piece of gear.
I’ve been there. Multiple times. And the lesson I keep learning is that the urge to upgrade and the readiness to upgrade are two very different things.
One is driven by shiny product pages. The other is driven by knowing exactly what you want to image and what’s actually standing between you and that result.
Before you open a single product page, decide what you want to image.
That one decision — getting specific about targets, the kind of detail you’re chasing, and what your current setup can and can’t reach — will shape every upgrade decision that follows.
The gear follows the goal. Not the other way around.
Let’s dive into how to think through this the right way.
Start Early — Don’t Rush the Decision
Astrophotography gear isn’t cheap, and a wrong purchase doesn’t just cost money — it costs clear nights spent troubleshooting instead of imaging. The last thing you want is to rush into a selection because something went on sale or because you got excited after a good session.
Give yourself time to research. Time to sit with the decision. Time to make sure what you’re buying actually solves a problem you have, not one you think you might have someday.
The process I’m about to walk through takes patience, but it’s the difference between an upgrade that opens doors and one that creates new problems.
Plan Your Targets, Not Your Equipment
This is the single most important shift in how you approach upgrading: don’t start with gear — start with what you want to image.
Look at what you’re producing now with your current setup.
Ask yourself:
- What targets are you capturing well?
- What compositions are you proud of?
Then ask the harder questions:
- What’s outside your reach?
- What targets or levels of detail sit beyond what your current rig can deliver?
Don’t be afraid to image a few of these targets to know where your gear currently sits with them when asking these questions.
There’s no sense purchasing something that doesn’t expand your capabilities in some meaningful way, and there’s no sense duplicating what you already have. If you go into it with a clear picture of what you want to image, the gear can almost pick itself.
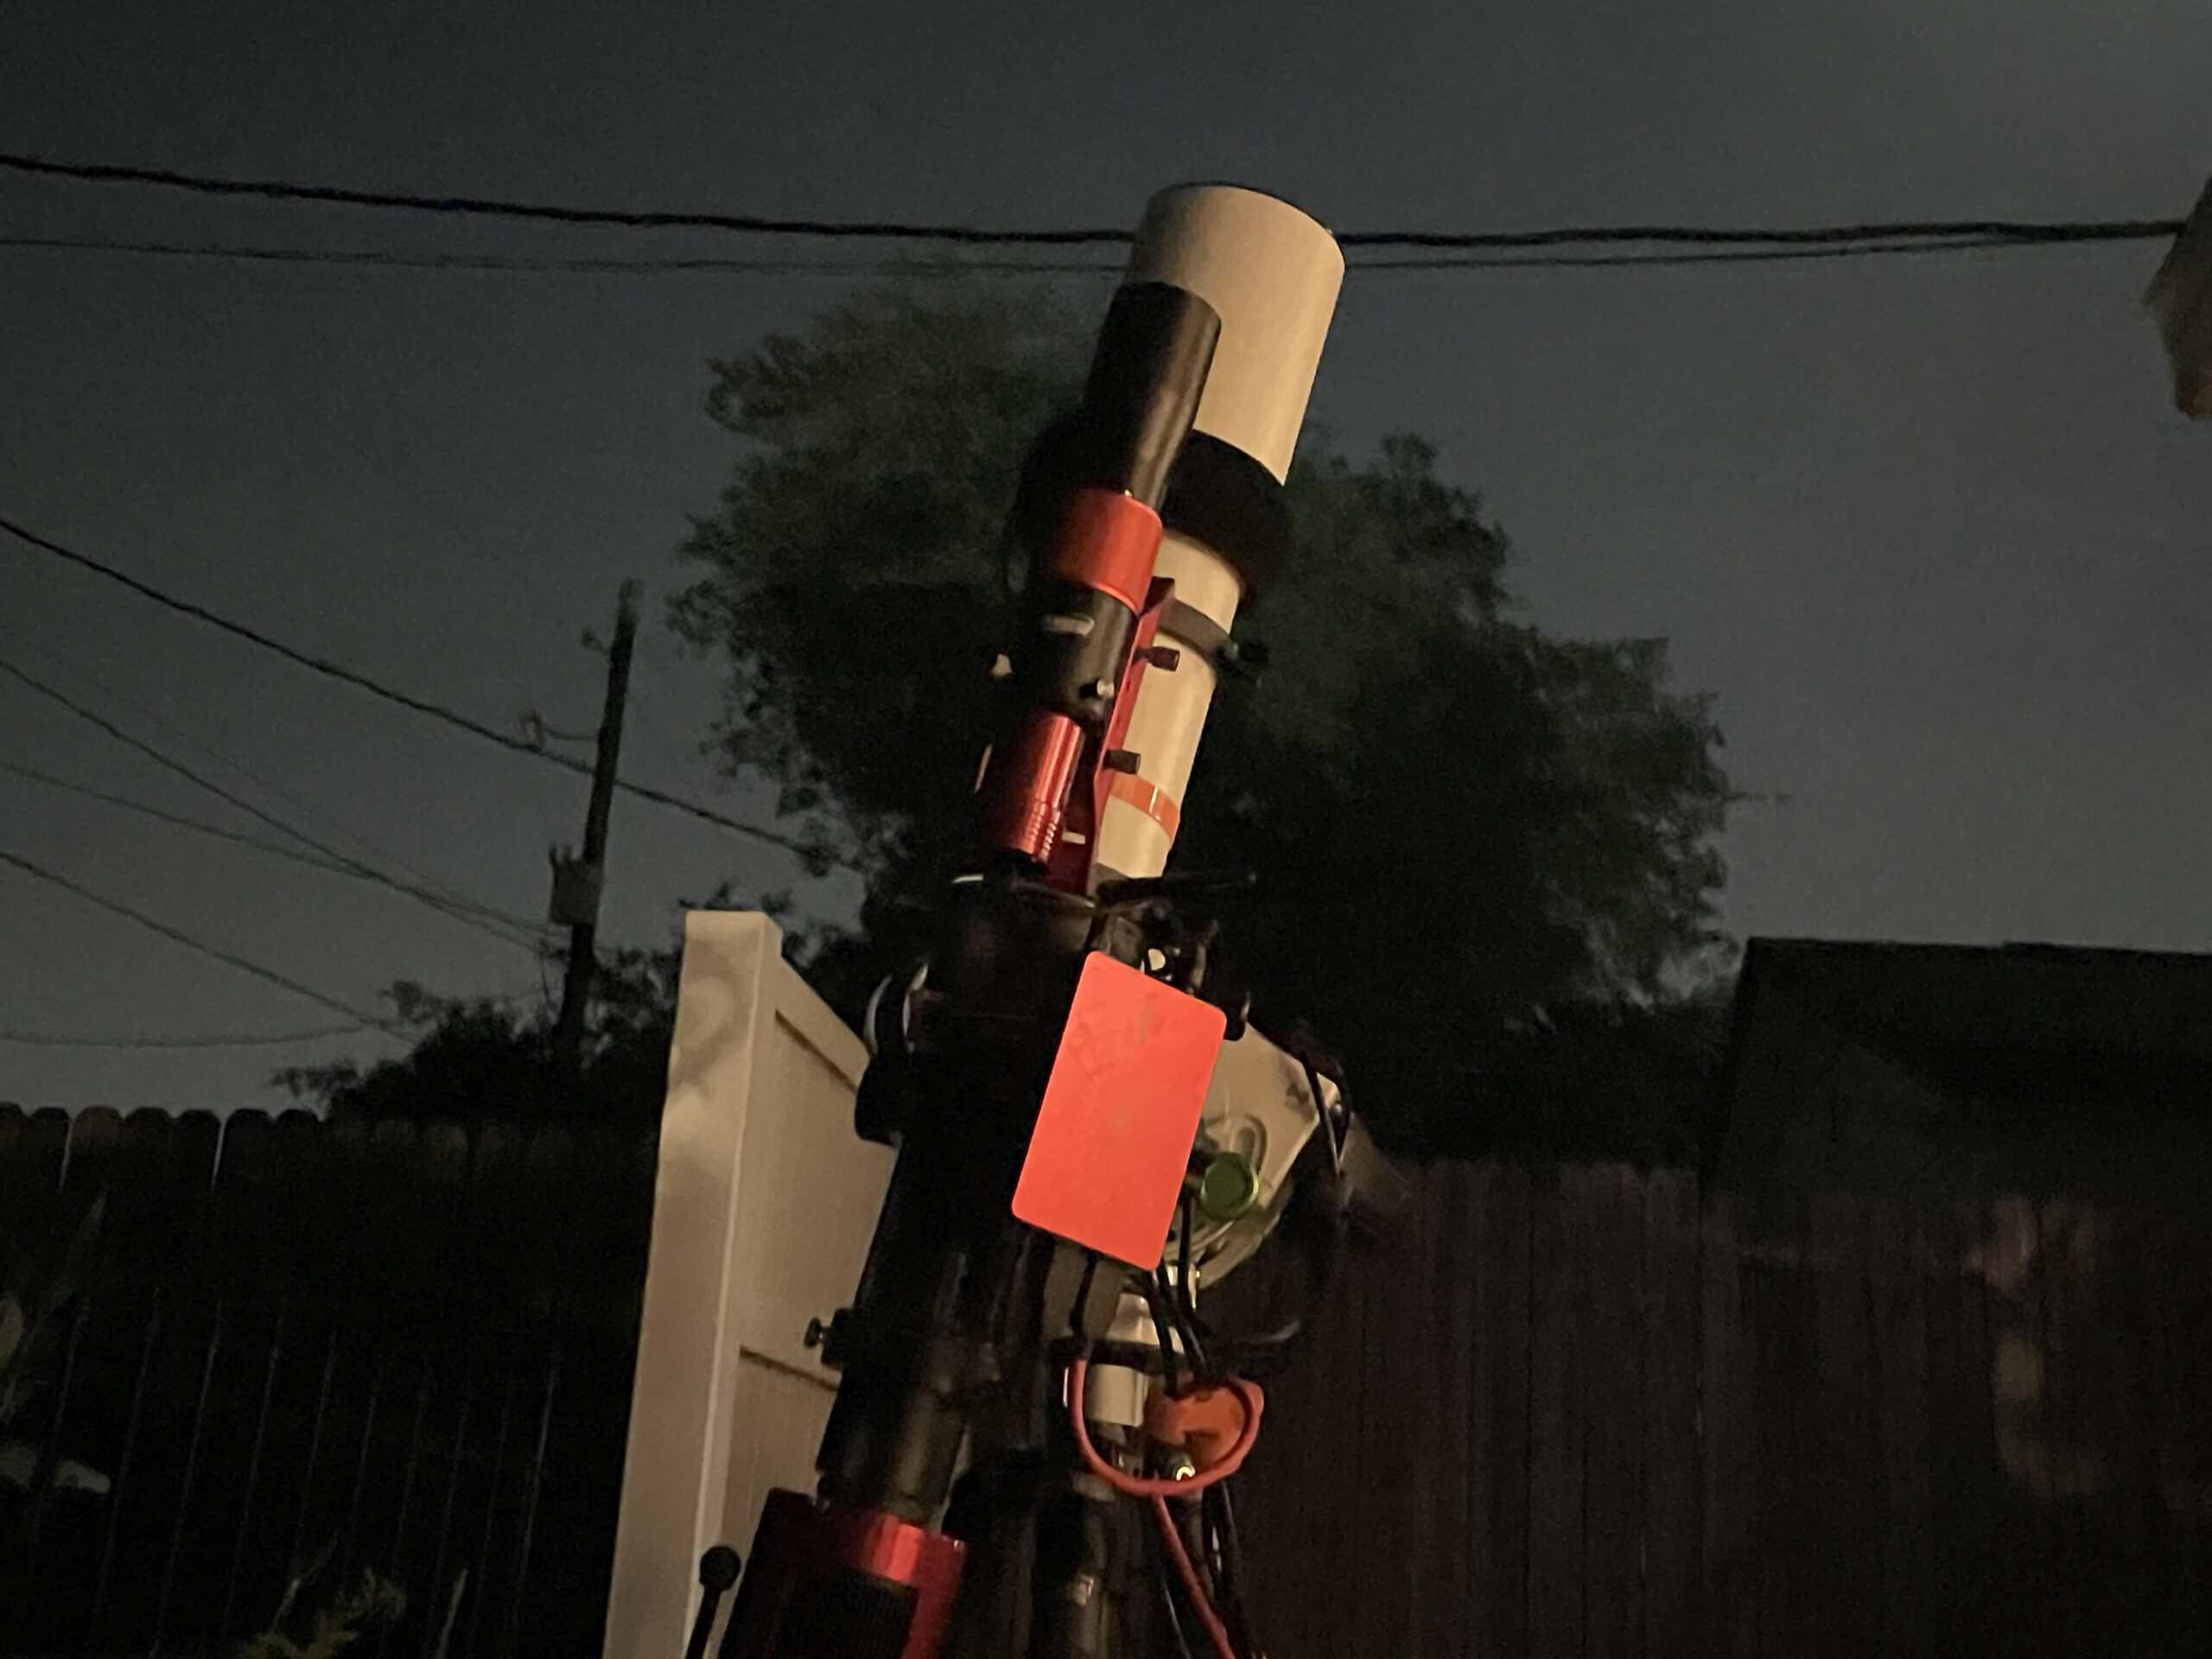
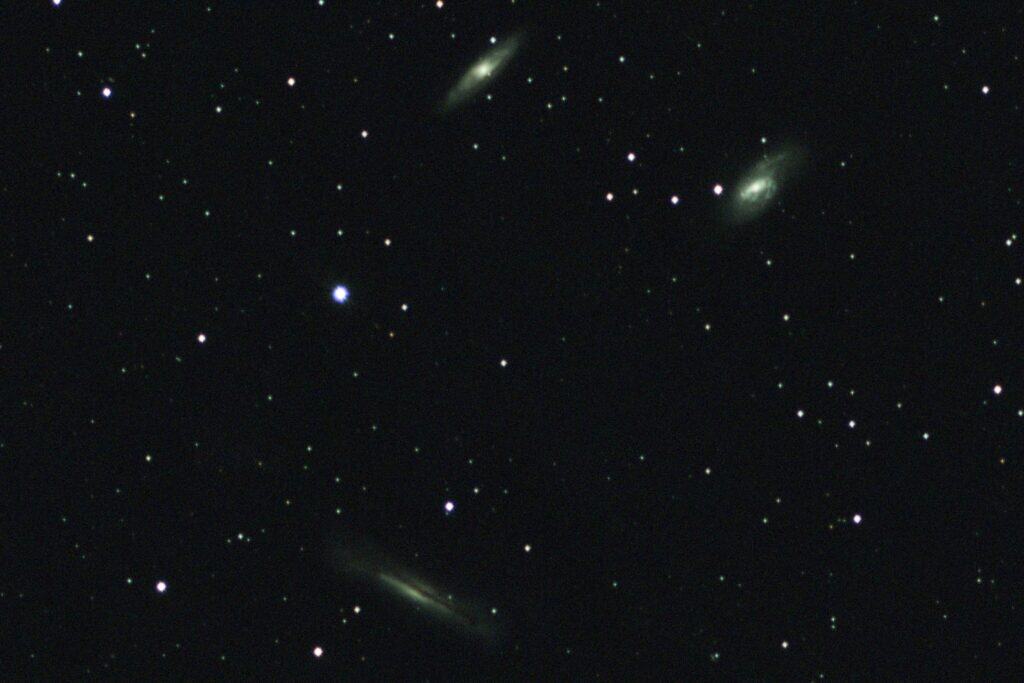
That’s exactly the process I went through recently. I have been imaging at 475mm with my SV503 refractor, and for wide nebulae it’s been great. But during the late winter and early spring galaxy window, I kept running into the same frustration — galaxies at that focal length are small.
You can tell they’re galaxies. You might catch a few arm distinctions in the structure. But the detail I wanted — dust lanes, spiral arm definition, real depth — just wasn’t there at 475mm.
So I started researching. I spent time on AstroBin finding galaxy images that matched the level of detail I was after, then looked at what gear was behind them. I Googled recommended focal lengths for specific targets.
And the answer kept pointing in the same direction: I probably needed to be in the 1,000 to 1,400mm range to get the kind of images I was chasing.
That research gave me a direction — not a shopping cart. And that direction is where the real clarity comes from.
The same logic works no matter what you’re trying to achieve.
If you want more detail or access to smaller targets like galaxies and compact nebulae, you’re probably looking at a longer focal length telescope.
If you want more space around your targets — wider field compositions, or the kind of framing that captures multiple objects in a single shot — you’re probably looking at a shorter focal length than what you have.
The same goes for cameras.
If you’re wanting to move into planetary imaging, your choice is probably better served by a dedicated planetary camera rather than a deep sky sensor.
The point is the same in every case: start with what you want to capture, and the gear reveals itself.
Don’t Skip the Foundation
Here’s where my own research took a turn I wasn’t expecting.
Once I knew I was looking at longer focal lengths — telescopes in that 1,000 to 1,400mm range — I started exploring specific models and imaging trains.
But the math didn’t work.
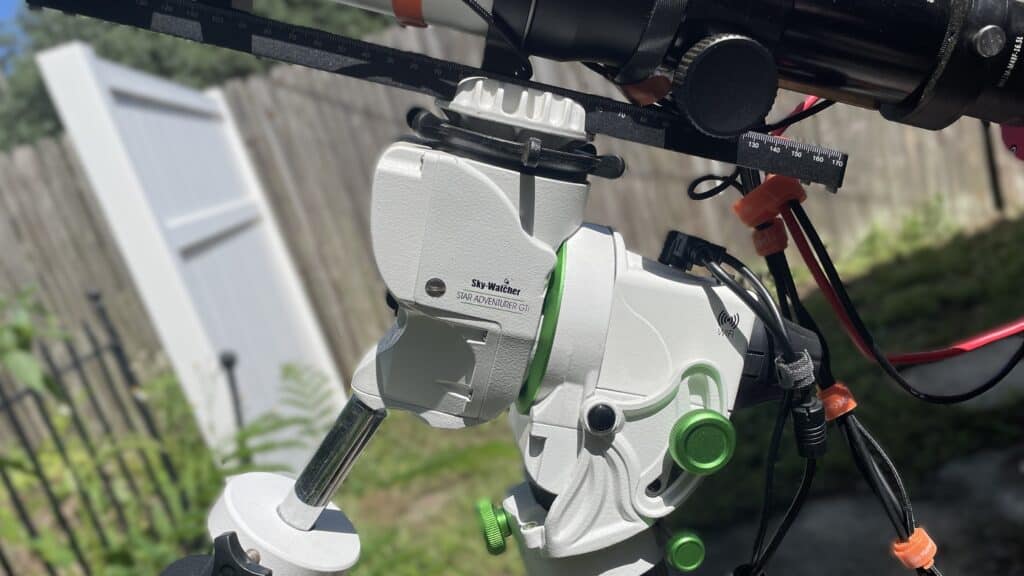
My Star Adventurer GTi has roughly an 11-pound payload capacity, and the practical recommendation is to stay around 60–70% of that for reliable tracking. By the time you add up a larger telescope, the camera, adapters, ASIAir Plus, guidescope, and guide camera, you blow past that limit fast.
Balancing the rig would be a nightmare, and tracking would suffer under the strain.
And that’s when it clicked: the telescope wasn’t actually my next step. The mount was.
This is the part most people skip. Everyone gets their sights set on the new camera, the new telescope — the fun stuff. But in astrophotography, there are foundational pieces that, if neglected, will guarantee frustrating nights no matter how fancy your optics or sensor are.
Your mount has to be able to handle any new equipment you’re considering. If it can’t, you’re probably better served by upgrading the mount first. It’s not the most exciting purchase, but your sanity will thank you. Because there’s nothing worse than buying a new kit piece only to find out you can’t balance the rig, or that it simply doesn’t work under the load.
The same goes for your tripod. If your foundation isn’t squared away, you’ll be chasing random tracking errors, dealing with balance problems, and wondering why your images look worse after spending more money.
Bad tracking means star trails. A jittery mount means noisy, soft images — especially with the long exposures that bring in the faint detail you’re upgrading to capture in the first place.
No matter how big the telescope or how great the camera, if the mount can’t carry and track it accurately, you won’t create the images you want.
This is actually the same principle I’d tell someone to start with before they ever get to the upgrade stage. If you’re still building your first setup rather than expanding an existing one, I broke down why the tracker deserves the early money in my astrophotography budget guide.
You’re Not Outgrowing Your Gear. You’re Expanding Your Options
There’s a mindset shift here that changed how I think about upgrades entirely: your current gear isn’t limiting you from imaging a target.
There are no rules saying you must have a certain focal length or sensor to capture something.
You might not get the exact image you have in your head, but you can still capture it — and that capture gives you experience.
Familiarity with how a target is laid out, how to frame it, what’s nearby. That knowledge carries forward no matter what rig you’re using later.
A shorter focal length isn’t worse — it gives you context, the surrounding field, the relationship between objects. A longer focal length isn’t better — it gives you detail but loses that wider perspective. They’re different compositions of the same sky.
Upgrading isn’t replacing something that stopped working. It’s giving yourself different options.
That reframe matters because it takes the pressure off. You don’t need to upgrade. You choose to upgrade when you’re ready to explore something your current setup genuinely can’t offer — and you’ve done the homework to know exactly what that is.
Is It the Gear or the Technique?
Before any money changes hands, there’s one more honest question worth sitting with: is it actually the gear holding you back, or is it your technique?
Gear is like a paintbrush — it only goes as far as the skill behind it. A better telescope won’t fix sloppy polar alignment. A newer camera won’t compensate for rough processing technique. And a bigger mount won’t help if you haven’t learned to balance your current rig properly.
This isn’t about judgment — it’s practical. If your limitation is technique, the fix is free. More practice, more sessions, more time learning the tools you already have.
That’s almost always time better spent than money on new equipment.
If you’re not sure where your technique stands, working through a consistent session workflow from setup to teardown is one of the fastest ways to find out.
The gaps become obvious when you follow the same process every time.
And the side benefit is that when you do upgrade, you’ll actually be ready to take advantage of what the new gear offers.
Final Thoughts
The best upgrade is the one you planned with purpose.
Start with what you want to image. Research what it takes to get there. Check whether your foundation — mount, tripod, guiding — can handle the change. And before anything else, honestly assess whether the limitation is gear or technique.
I wanted a new telescope. The process told me I actually need a new mount first.
That’s not the answer I was hoping for, but it’s the right one — and it saved me from buying a telescope my rig couldn’t support.
That’s what this framework does. It protects your wallet, your sanity, and your clear nights.
Tagged
In This Post
Current Setup
Equipment links are affiliate links – they help support this site at no cost to you.