
What Florida’s Rainy Season Has Taught Me About Astrophotography
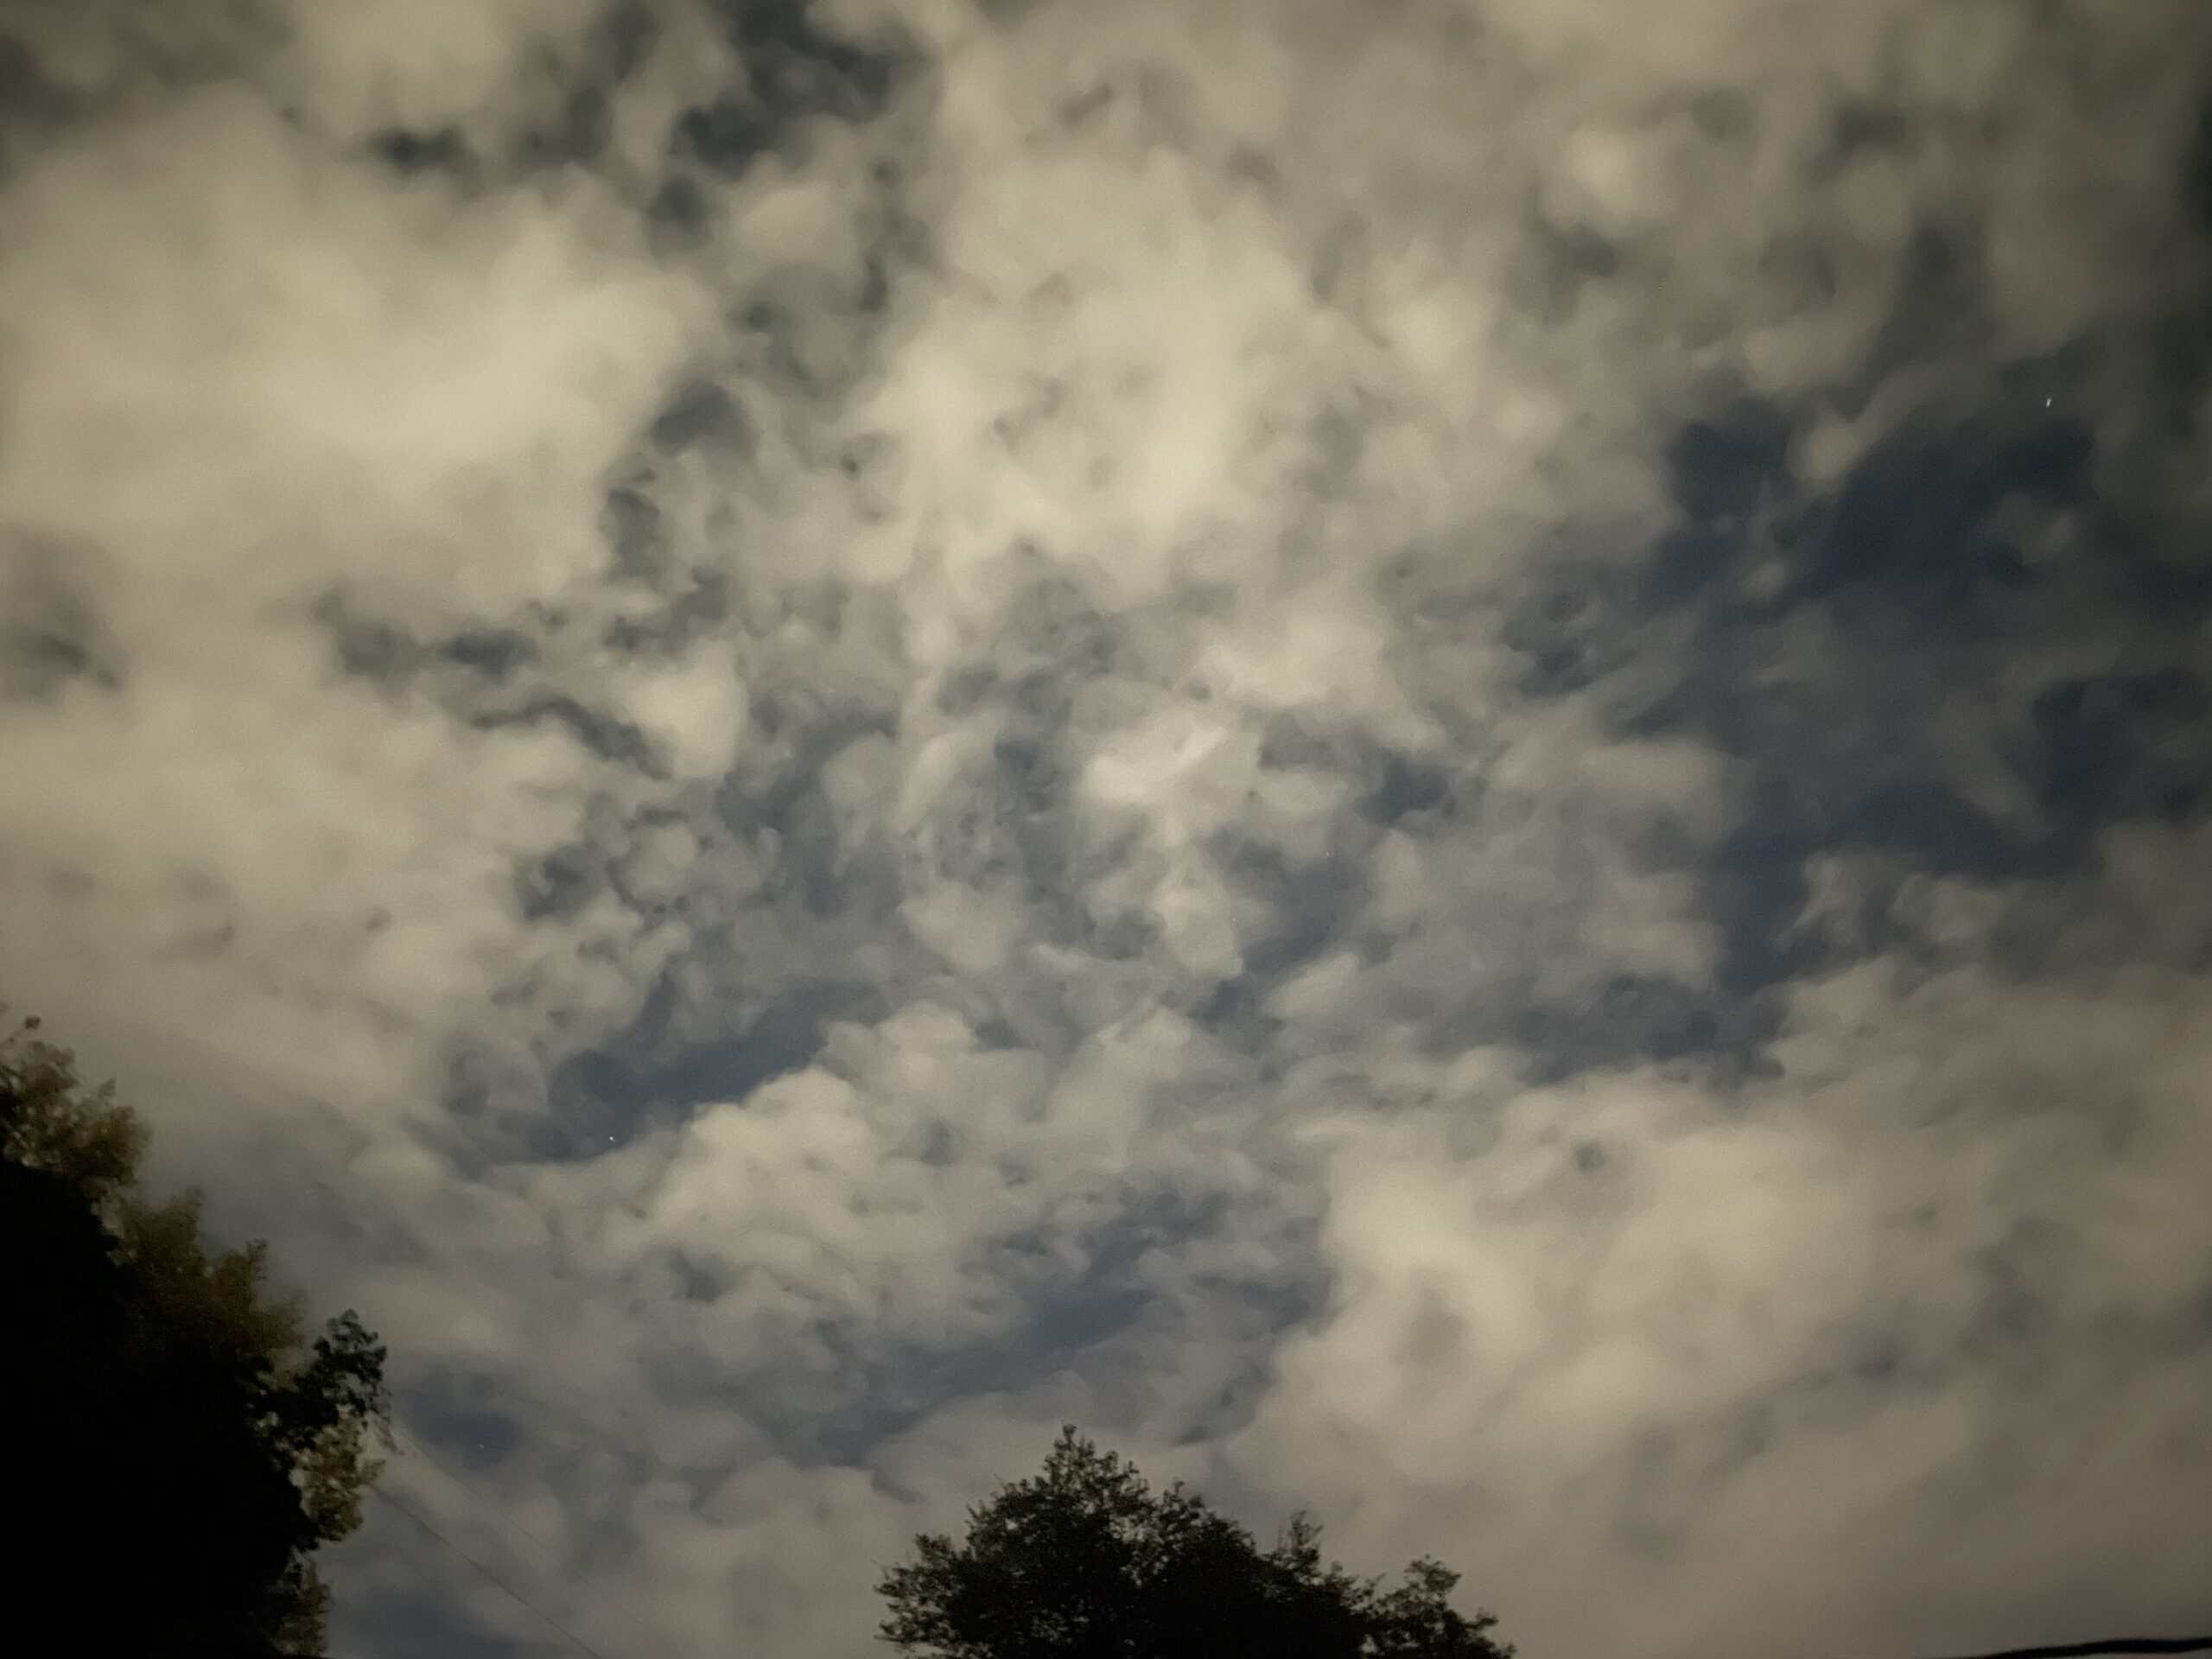
There’s an unwritten rule in astrophotography that every imager learns eventually. The moment you get a new piece of gear, or discover a target you can’t wait to shoot, the clouds show up.
In Florida, rainy season takes that rule to another level. The clouds don’t just show up for a night. They can settle in for weeks, and you can go months without a single viable night.
I image from a Bortle 9 backyard in Florida, so I’m already working with less sky than most. Rainy season stripped away even more of it, and it taught me more about this hobby than some of my clearest nights did. If you’re heading into a long stretch of bad weather, wherever you live, here’s what I’d want you to know going in.
Rainy season taught me three things: prepare what you can control so you’re ready when the sky opens up, use the imperfect nights you get because every hour adds up, and don’t force a night that isn’t there. You can’t control the weather, but you can control how ready you are for it.
Let’s dive into what each of those looks like in practice.
Don’t Force a Night That Isn’t There
I learned this one the hard way, more than once. The worst version goes like this: you spot a gap in the clouds, rush outside, and get everything set up, aligned, and running. Then the clouds roll right back in.
Now you’re stuck. You keep imaging anyway, capturing frames you already know are bad data, or fighting tracking issues because you’ve invested too much to pack up.
The other version is setting up while clouds are already in the sky and hoping they’ll clear. My north and west views are blocked by trees, so I rely on plate solving for polar alignment. Plate solving needs to see stars in several areas of the sky. With patchy clouds drifting through, it fails, retries, and fails again. I’ve sat in that loop for a long time, just waiting and getting more frustrated.
Forcing a bad night rarely costs money. It costs time and motivation, and that frustration is what makes you stop enjoying the hobby. Gear can’t fix a cloudy sky. Polar alignment and tracking need clear skies, and some nights the best decision you can make is to leave everything inside.
Prepare What You Can Control
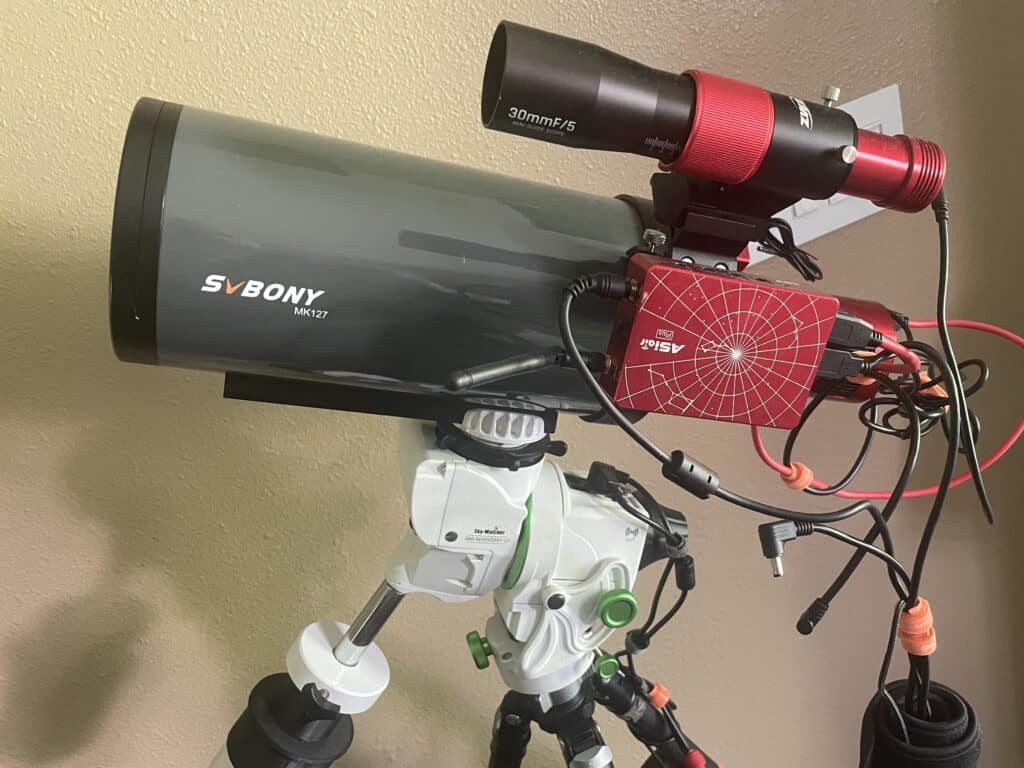
You’ll never predict weather, cloud cover, or wind with certainty. What you can control is your rig, your targets, and your viewing windows. Get those sorted ahead of time and you’ll squeeze far more out of the nights you do get.
It starts with a target plan. Figuring out which targets are in season for your location is the easy part. The real work is building the list around your specific observing situation, which for me means planning around a sky that’s blocked by trees to the north and west and a house to the south. I walk through that process in how I plan astrophotography targets around my backyard’s tree cover.
I keep a three- to six-month target list with one or two options for each week. If the skies don’t cooperate, I push that target to a later week or skip it entirely. Once you know your target, you also know which telescope, camera, and filter it calls for.
That lets you keep your rig pre-set up, or at least have the pieces staged and ready. When a clear night shows up, you head outside already knowing what you’re imaging instead of figuring it out during setup. That readiness is a big part of what makes an astrophotography session actually succeed.
Trust the Sky Over the Forecast
Forecasts help, but they aren’t foolproof. I’ve seen a forecast promise clear skies while the sky was full of clouds, and I’ve seen the exact opposite.
Use forecasts as a confidence check for whether to plan on imaging. If you’re traveling to a darker site, they matter a lot more. From the backyard, though, the best tool you have is a quick look outside.
Clouds Aren’t Storms: Know Which Nights to Chase
Rainy season brings two kinds of bad weather, and they call for different decisions.
Cloudy nights are the ones worth chasing. If you get gaps or partial cloud cover you can image around, go for it.
Storms are different. I don’t recommend trying to sneak a session in between them. The humidity is heavy, and the last thing you want is your rig and electronics caught outside when the next cell rolls through. If it storms during the day and fully clears by night, that’s a different story. Just don’t try to time the gap.
Even those post-storm clear nights come with a catch. When the humidity is extremely thick, I deal with condensation on the lens and the rest of my equipment. Dew forms when your optics cool below the dew point, so I run a dew band heater on my telescopes to keep them just warm enough to stay clear.
I also find myself adjusting focus more often on those nights. That drift comes mostly from the temperature dropping after a storm, which makes your optics shift as they cool. And humid air scatters more light, which amplifies the sky glow a Bortle 9 sky already has and softens your contrast.
Every Hour Counts Toward Integration Time
Here’s the mindset shift that changed rainy season for me. Integration time is the number one factor in a deep-sky image, and it doesn’t care how you collect it.
Seven one-hour sessions and one seven-hour session both equal seven hours. A string of short sessions grabbed between clouds is no different from piecing together several full nights. It all adds to your total.
And you’ll be piecing nights together anyway. Even in perfect conditions, most targets need more than one session, and nearly every image I’ve made combines data from multiple nights.
Those shorter nights build good habits, too. Every session gives you practice organizing your data, gathering it together, and matching calibration frames to the specific night they belong to. So if all you get is an hour, take it. You’ll add to your image and learn something in the process.
What to Do on Cloudy Nights When the Sky Won’t Clear
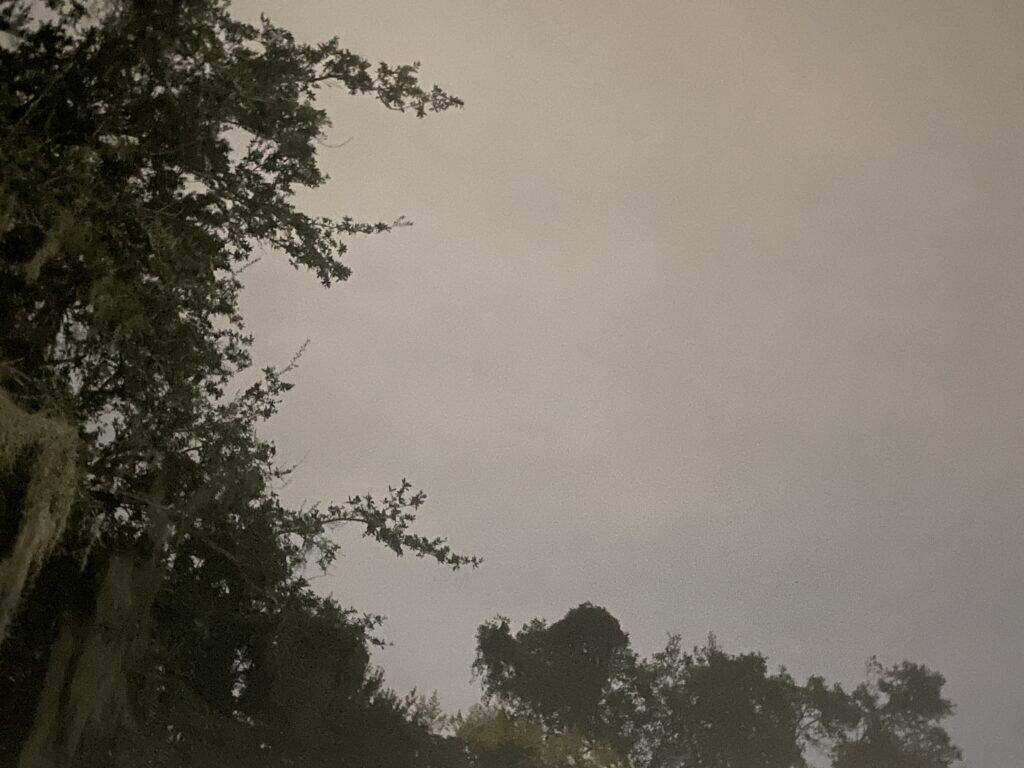
Some stretches won’t give you even an hour. When weeks go by without a usable night, you can still move forward. Here’s what I work on:
- Build your dark frame library. If you have a cooled camera like my ASI533MC Pro, you can shoot darks indoors at your usual temperatures and exposure lengths. That’s one less job on your next clear night.
- Research your target list. Look up the targets you’ve planned and study other people’s images of them. You’ll get a sense of what to expect and what details to chase.
- Reprocess old data. Go back to previous imaging nights and process or stretch them again. You’ll often pull out more, or different, detail than you did the first time.
- Organize your data. Sort your sessions, label your frames, and get everything in order so stacking goes smoothly once new data comes in.
None of this replaces time under the sky. It does make sure that cloudy months turn into progress instead of wasted time.
Final Thoughts
If you’re thinking your location just isn’t good for astrophotography, I get it. Rainy season will hand you nights that won’t let you image, and sometimes long stretches of them.
But there will certainly be nights that do. What separates a productive season from a frustrating one is planning ahead and taking advantage when those nights show up.
So build your target list, keep your rig ready, grab the short windows, and let the bad nights go. And when your next new piece of gear arrives with a week of clouds attached, you’ll know exactly what to do while you wait.
Tagged
In This Post
Current Setup
Equipment links are affiliate links – they help support this site at no cost to you.